

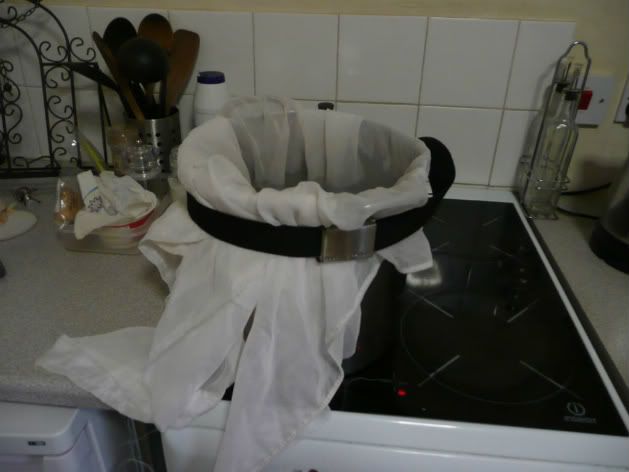
First, I start with an 11 litre stock pot, bring water up to strike temp (71c) and then attach the Voiles with my belt.
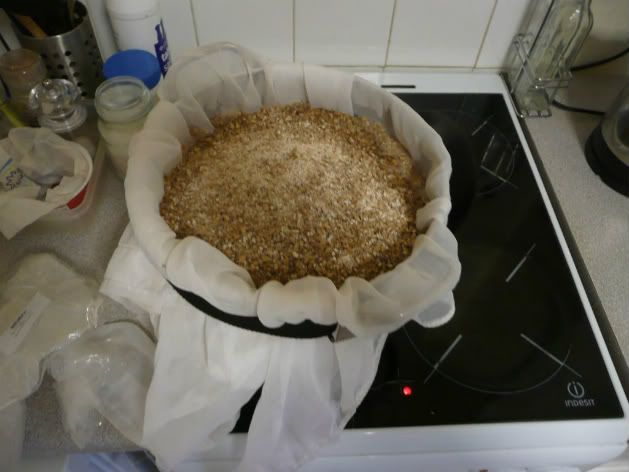
After this its time add the grains. These get a good stir to ensure there are no lumps and water is added to get mash temp of 65c.
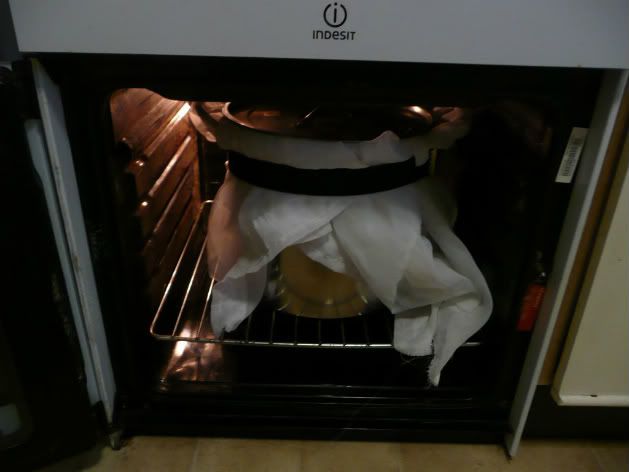
To ensure an even mash temp I put the whole thing in the oven which is set at 65c.
Whilst the mash is going on, I steep grains which don’t require mashing. This water is then used for the sparge.
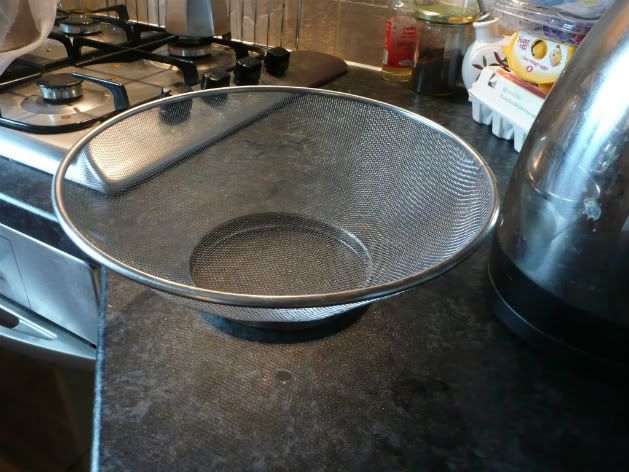
My sparge step involves using this sieve which fits on top of my put kettle.
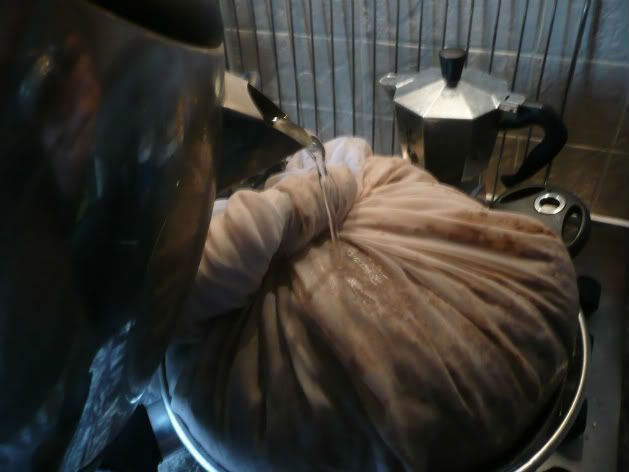
I put the bag of grains on top of the sieve, and then put this on top of the stock pot. I then gently pour the sparge water over it. I do this a couple of times into two pots so I end up with about 12 litres of wort. I use the spare wort to top up stock pot whilst the boil is going on.
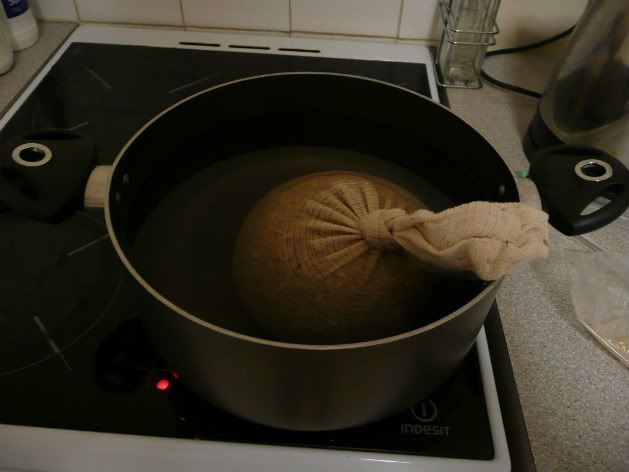
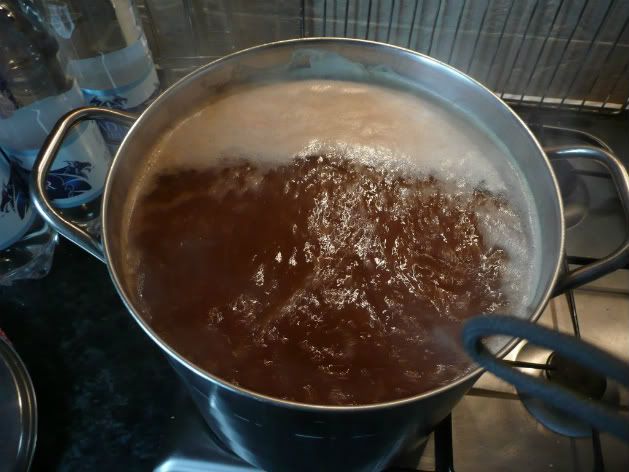
Then I bring it to the boil.
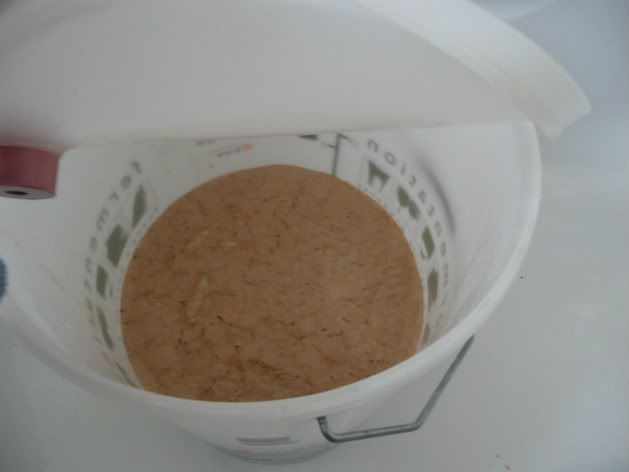
After this, I cool it and then pour the wort through some sterilised voiles which I have attached to the FV. I don’t have picture of that part but you can work out how to do it. Here is the fermentation.
This is only a 10 litre batch. My most recent BIAB I chucked in a bit of dried malt extract to up it to a 15 litre batch. I would like to show a picture of the finished product but I drunk all of it.
Thoughts or suggestions welcomed!

