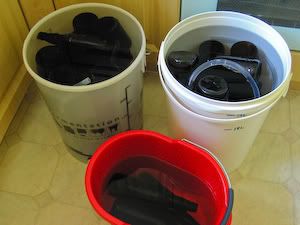
First off to sanitise anything that will come into contact with the beer. I can fit 36 bottles into 2 fermenting buckets along with the caps, tubing and bottling stick. A few extra bottles had to go in another bucket. The sanitising solution was thin bleach at 5ml per litre.
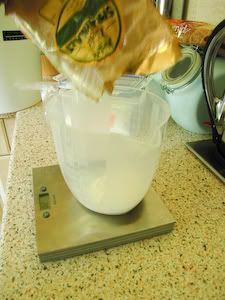
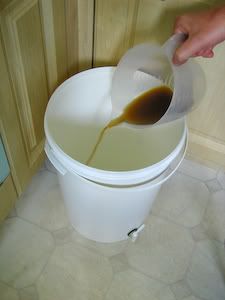
Next make up the priming solution. I used some leftover spray malt (60g) and 20g of demerara sugar to make it up to 80g. Added about 150ml of water and zapped it in the microwave until it boiled. Covered with cling film whilst I rinsed the bottles.
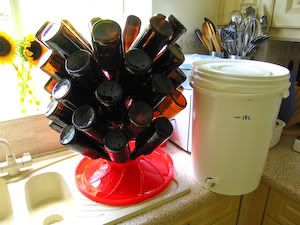
Each bottle gets 3 rinses before going onto the bottle tree to drain. That thing is a godsend!
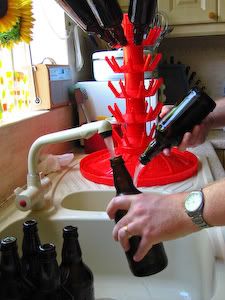
After rinsing I have a tree full of bottles and a bucket ready to become my bottling bucket.
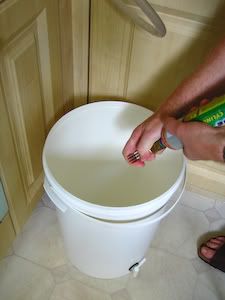
A good squirt of CO2 goes into the bucket from soda stream bottle with an S30 adapter. A fork helps to press the 'nipple' to release the gas. This should help to avoid the beer coming into contact with too much air.
In goes the priming solution that has cooled as I rinsed the bottles.
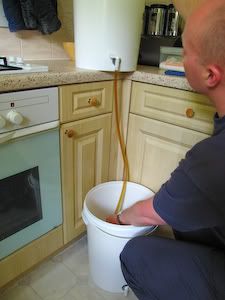
A length of tubing attaches to the fermenter and allows me to drop the beer slowly into the bottom of the bottling bucket with minimal disturbance or aeration.
The fermenting bucket now goes up above the worktop and the bottling stick is attached to the tap with a short length of tubing. The tubing and stick are filled with some pre-boiled water to stop an air bubble going up through the beer when the tap opens. Here I am draining off that water into a glass ready for the first bottle.
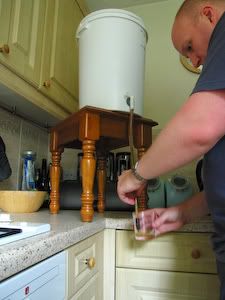
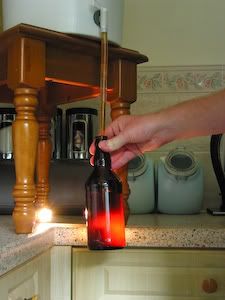
Using the bottling stick is a breeze. It has a needle valve at the bottom. Push the bottom of the bottle up against the valve and the beer flows. When it reaches the top simply drop the bottle slightly and the flow stops. The volume occupied by the stick means that the final volume drops to the perfect level. A torch is used here to help see when the bottle is full.
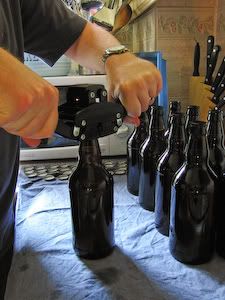
On go the crown caps using a twin handle capper.
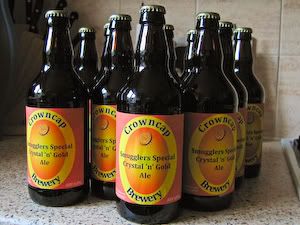
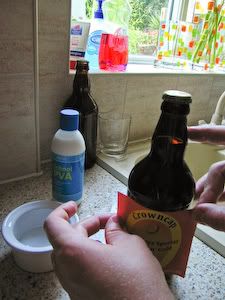
The finishing touch is a label. These were quickly knocked up using OpenOffice Draw. They are pasted on using watered down kids PVA glue.
And there we have a few of the final product. They go into cardboard boxes (Staples do a perfect size box to hold 12 bottles) and sit somewhere warm for a week. Then they go off somewhere cooler (the garage) to condition. Just got to keeps my mits off for a couple of months now!