The information here is my take on the technique made popular by AHB forum member Tony some years ago, (see here and here).
Advantages of splitting yeast packs (this way):
- Simple and easy.
- Minimal cost or equipment outlay.
- Saved yeast is 'virgin' or 'generation 0' (hence should not be contaminated or contain mutations).
- A store-purchased packet of yeast can be used for multiple batches of beer.
- Stored 'splits' take up very little room.
- 'Splits' are easily swapped and shared with others.
- Minimal cost for equipment (vials, test-tubes or sample-jars).
- Starters are required since the yeast-pack is split multiple times.
The only specialty equipment required (compared to using a full yeast-pack) are some vials to store the 'split' yeast in (see note at end of this post).
Step 0: (optional)
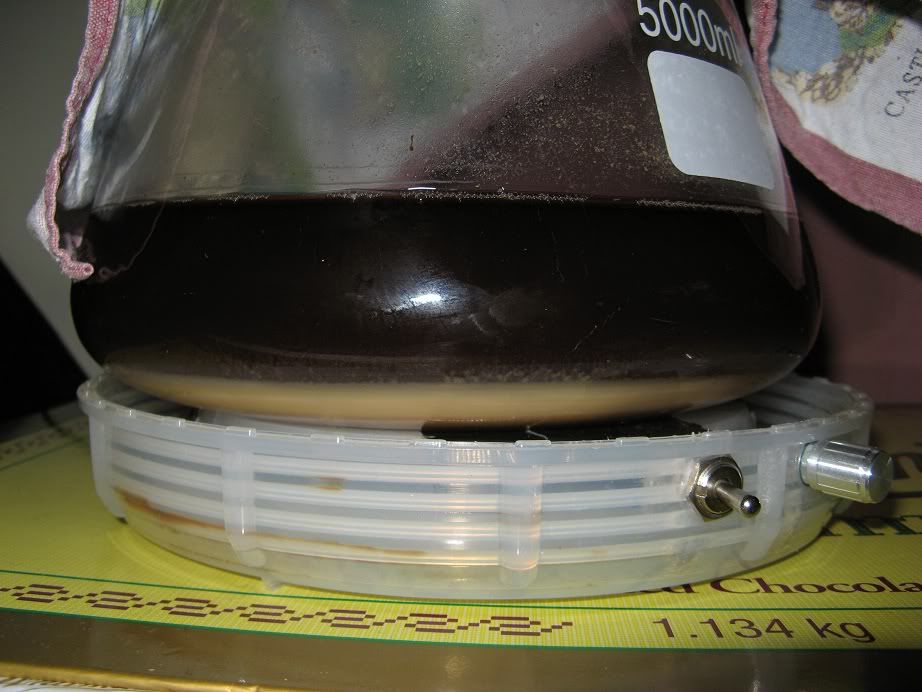
If using a Wyeast pack (as per the pictures here), smack the pack and wait for it to swell, this provides more liquid to split and 'revives' the yeast which should mean it will be viable for a longer period when stored.
Step 1:
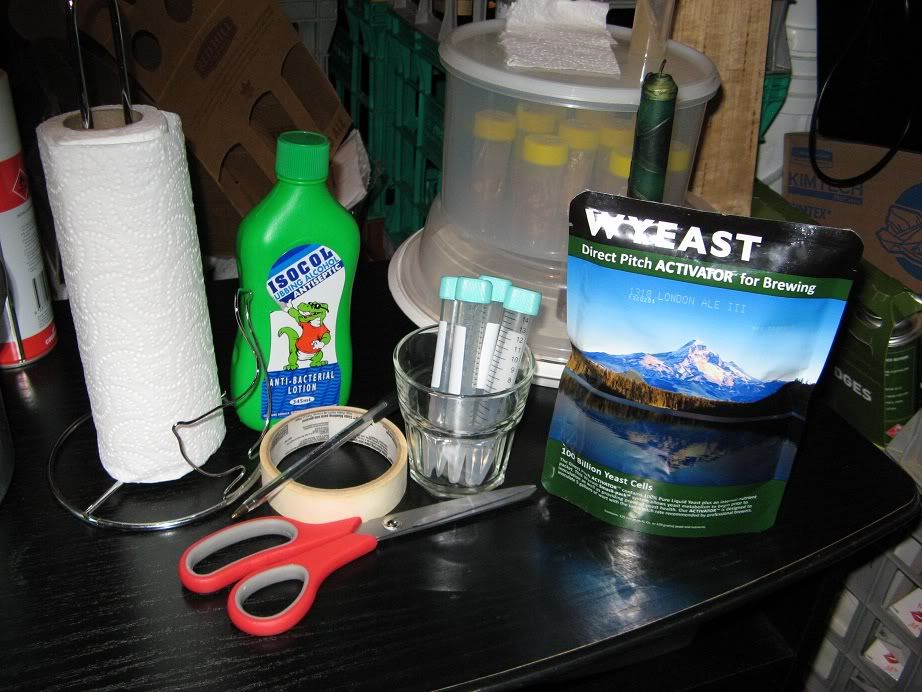
Sterilize the sample containers, if they are supplied sterile ensure that the caps are not opened until you are about to use them.
If re-using vials, an autoclave/pressure cooker is the best way to sterilize them, otherwise try the Tyndallization process or simply boiling them for a time.
Step 2:
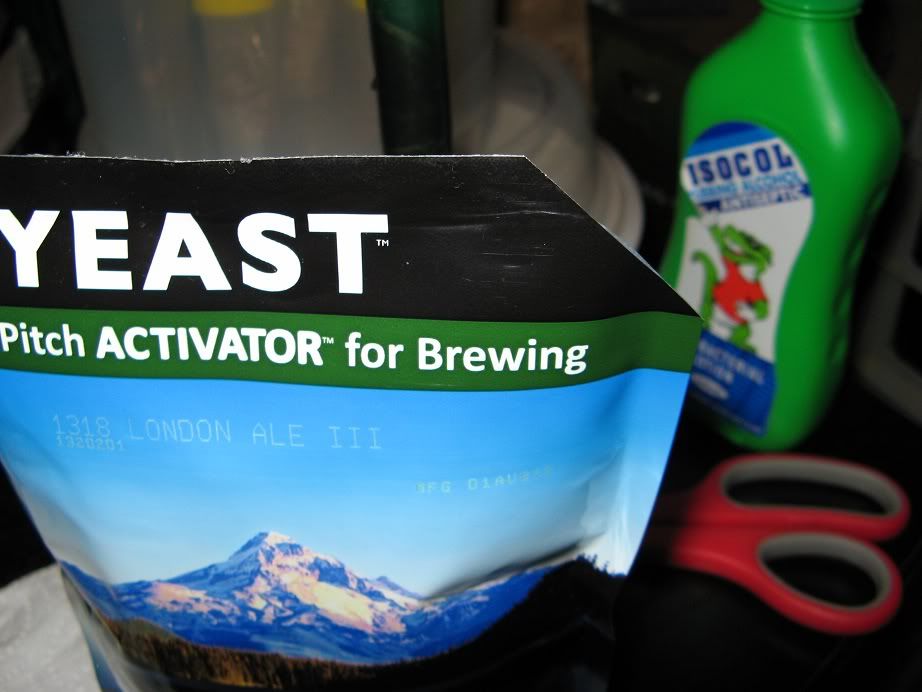
Working in your draught-free, clean and sterile as possible yeast 'laboratory', wipe the yeast-pack and scissors with alcohol and carefully snip the top-corner of the pack.
Step 3:
Pinch the snipped-corner to form a funnel and carefully decant the yeast-liquid into the sterile vials.

Step 4:
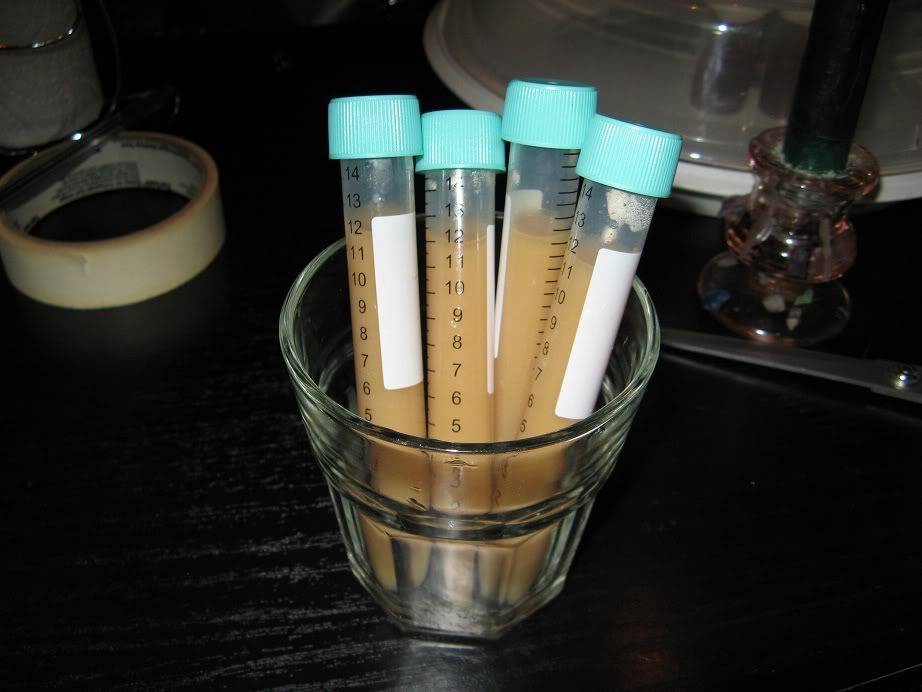
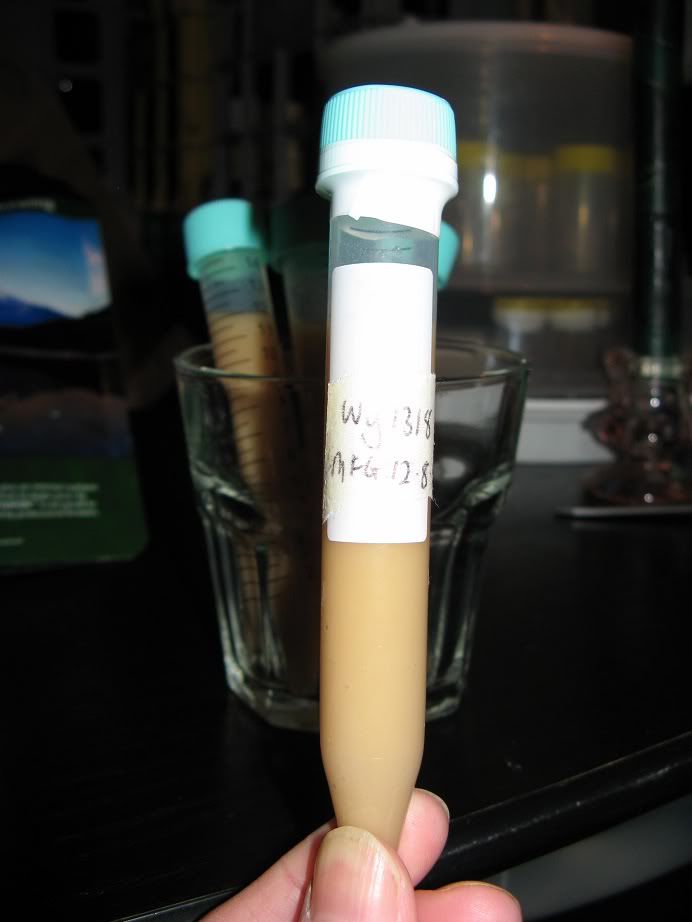
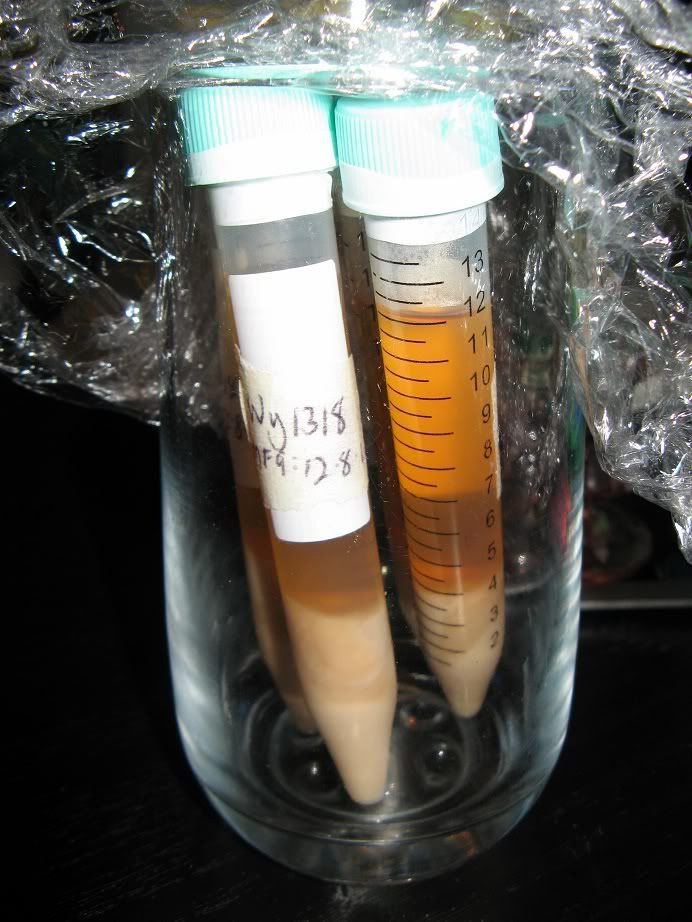
The size and number of 'splits' you make depends on the package size (see note below), how fresh the pack is, how many samples you want to save/swap, and the size of your vials. Here I am making 4x 12ml 'splits'.
Step 5:
Label the vials (and optionally seal the caps using parafilm/tape).
Step 6:
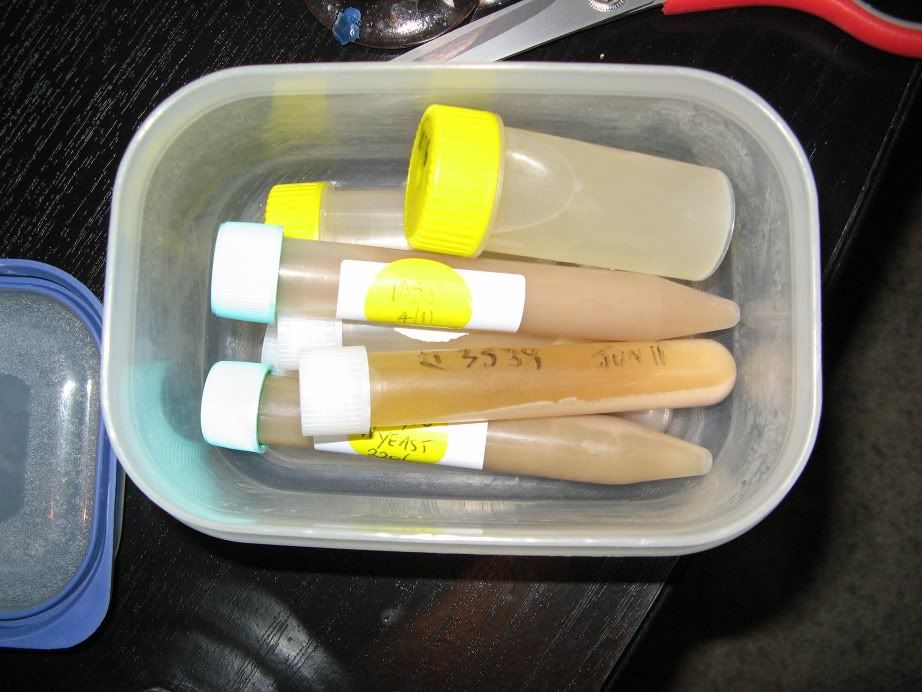
Store 'split' samples of yeast as cold as possible in the fridge (but do not freeze it), after a short time the yeast will settle.
Step 7:
Swapping yeast 'splits' with other brewers allows you to obtain and use other yeast-strains to use without additional expense.
('Splits' stored in 10, 12 and 30ml vials are shown above)
This technique works equally well for WhiteLabs vials - which contain about 35ml of liquid and 100billion cells.
Wyeast Activator packs (shown in pictures here) should have about 100billion cells in 125ml of liquid.
Wyeast Propegator packs should have about 50ml of liquid and 25billion cells.
In theory small samples of dry-yeast can be split, saved and propagated, however most people do not consider such a technique cost or effort effective and so it's generally suggested that the 'correct' amount of dry yeast is used.
Note about vials, sample-jars or test-tubes
Most people use laboratory-type sample containers, vials or test-tubes but most any container of suitable size and material can be used.
Vials made from autoclavable polypropylene means that they can be heat re-steralized and re-used.
I like to use the 15ml test-tube type containers shown above, but any vial/test-tube/sample-container from about 7ml up to 30 or even 50ml can be used.
To determine the number of yeast-cells in the split and remaining in the pack
First estimate calculate the number of viable yeast cells based on manufacture date (via MrMalty calculator).
Divide this number according to the volume of your splits and yeast-pack type.
Eg: My 1 month old Activator pack should have about 75billion viable yeast cells in 125ml of liquid, hence the 12ml 'splits' should have about 7.5billion cells each, and the remaining 80ml should contain about 48billion cells. The 48billion cells remaining in the pack is more than enough to pitch directly into a 'full size' starter.
Storing 'splits'
Yeast 'splits' should be stored in the fridge at as cold temperature as possible (but not frozen) and should be viable for at least 6 and up to 12 months.
In theory it should be possible to replace some/most of the wort/nutrient liquid with sterile-glycerin and freeze the 'split', which should (in theory) greatly prolong the storage time (by years) - however I've not tested this theory yet.
Using 'splits' and split-packs
Due to the smaller number of yeast cells, a starter will always be required to grow enough yeast to ferment a (standard volume, standard gravity) full batch of beer.
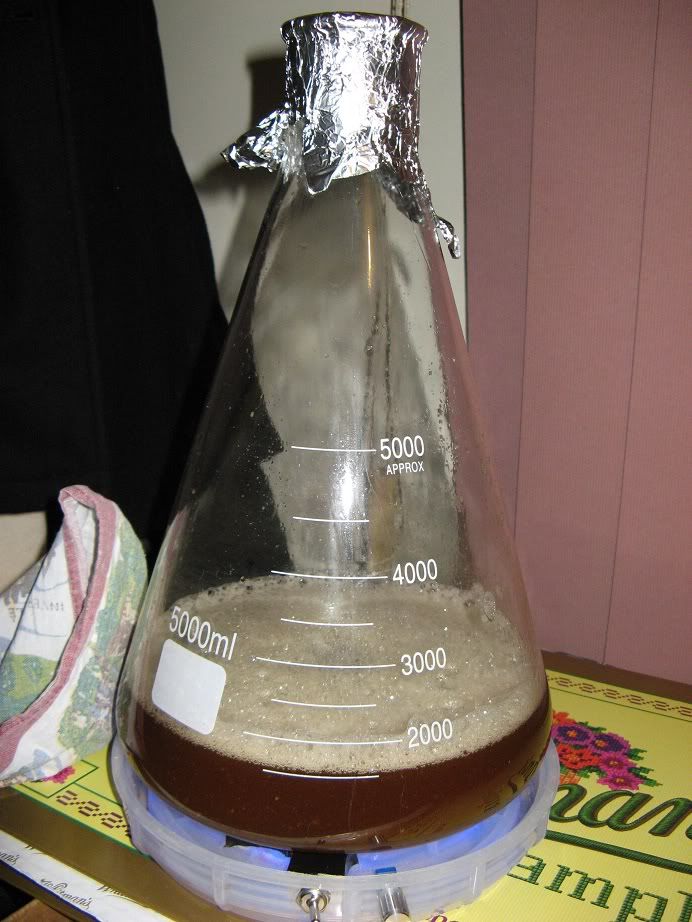
In the example shown in the photos here, I guessed/estimated that (after taking the 4x 12ml splits) I have about 80ml liquid and 48billion cells remaining in the pack. This is enough to pitch directly into a 'full size' 1.5L starter to produce somewhere around 150billion cells, which will then be pitched into 24L of 1.038 English Ale:
When using the yeast from the saved 'splits', the only time it would be recommended to pitch the 'split' directly into a full volume starter is if they are are larger-volume (30-50ml) and very fresh.
If the saved 'splits' are smaller in volume (like my 12ml 'splits' shown here) or older (more than 1 month old) a stepped-starter would be recommended in order to grow pitchable quantities of yeast.
The size and number of steps required will depend on how much viable yeast is estimated to remain, which in-turn depends on the volume and age of the 'split'.
Essentially what this yeast splitting technique is doing is swapping buying more/new/fresh yeast-packs for making (stepped) starters, so a good understanding of starters and stepped-starters is required before attempting this technique - however there is no reason anyone could not 'split' the first (and every) liquid yeast-pack that they buy.