AG Leffe Blonde clone (pic heavy!)
Posted: Wed May 18, 2011 12:45 pm
*** EDITED To add gravities etc ***
Hi guys,
I thought I would make my first Brewday report / post. This time I was half organised and so managed to brew and take pictures – multitasking! I did however encounter a number of problems during the Brewday but hopefully none that will make it one for the drain. A good learning exercise though and I do feel I am getting close to having it sorted and working well.
I am a fan of clone brewing, I think it gives us something to aim at and is good at understanding the different styles of beer and what ingredients/brewing processes are needed to achieve them.
This time its everyone’s favourite overpriced bottled beer Leffe Blonde!

I did a fair bit of Googling and settled on the following fairly standard recipe.
Further to my previous posts I am a young dad with little time and a pregnant-not-always-understanding partner! So fitting a brew in to daily life is an art. Also she hates the smell of brewing so I can mash/sparge in doors if she isn’t there but boiling is a definite no no.
I used to wake up very early and try to get done by the time she woke up (providing breakfast in bed to encourage a lie in!) But now we have a little one I think splitting the brew day in half works better. This essentially means mashing/sparging on a Friday evening and boiling/chilling the next morning.
So here goes…
First, the compulsory refreshment...

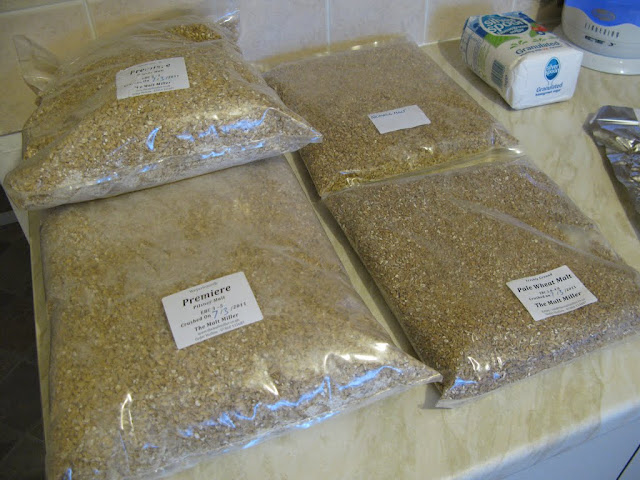
Lots of new grains for me this time, always been a true brit before.
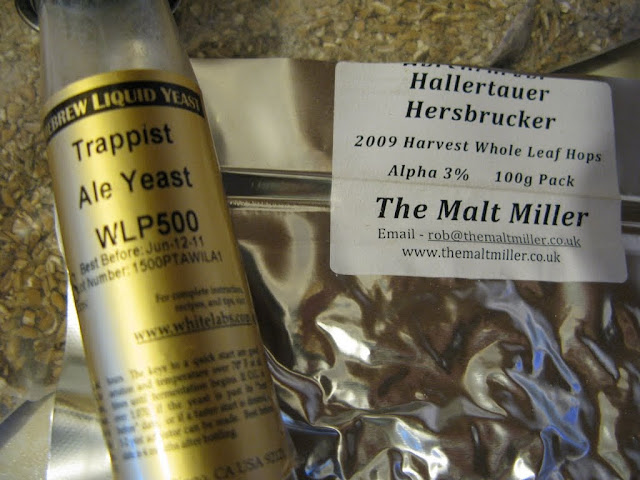
Likewise for the yeast (first time I have used a liquid) and the continental hops.
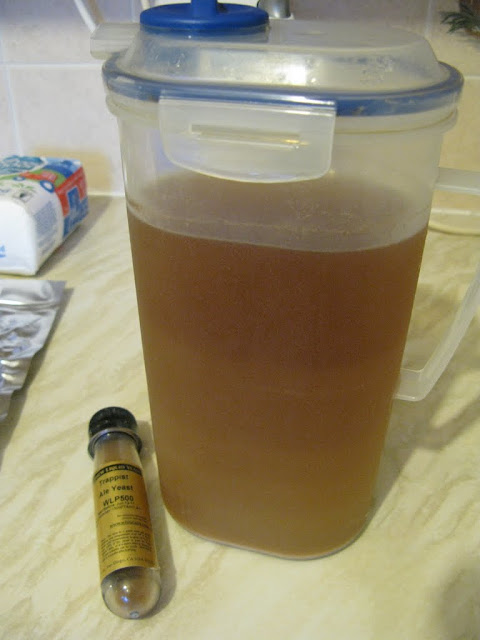
To try and save money and experiment with storing yeast longer term, I pitched half the vial into a one litre starter and then stepped it up to two litres. After a week or so it was chilled and I racked most of the wort off before pitching.
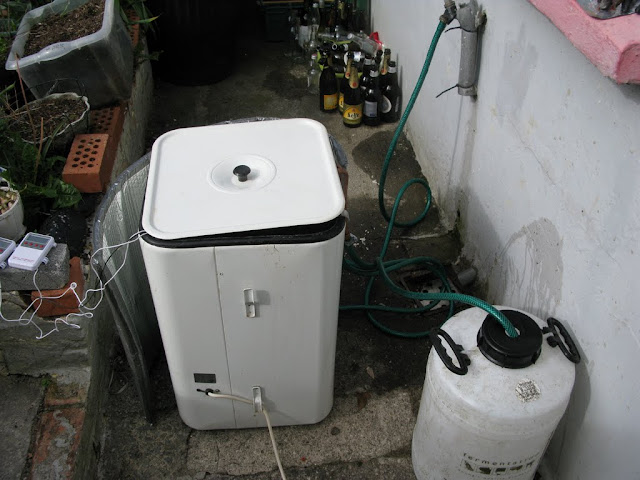
Here is my current plastic brewery. Its much improved now after getting some more plastic vessels from my local recycling centre. Winner! I decided not to use my HLT today as it’s a work in progress really and stuck with my retro Burco laundry boiler.
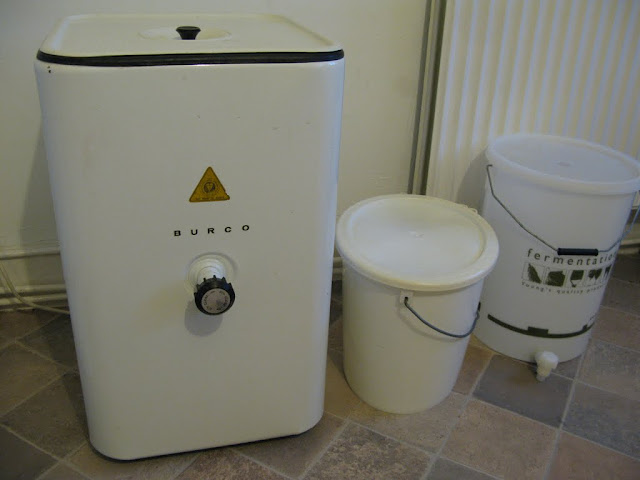
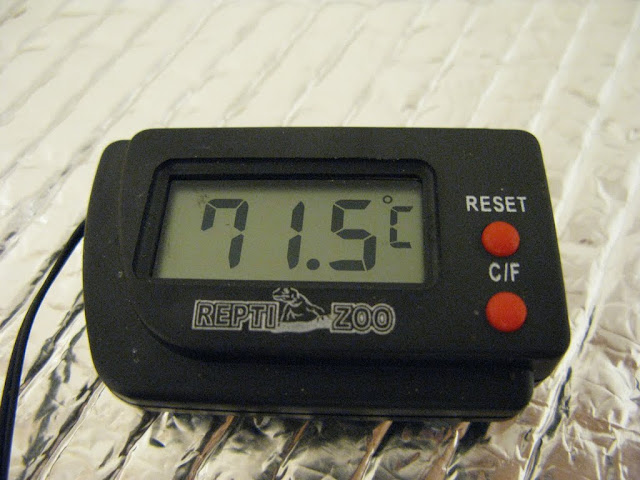
I still need to get a solar pump though. All the issues I have involve transferring wort so that is what is most pressing. That and a thermometer that is actually accurate!
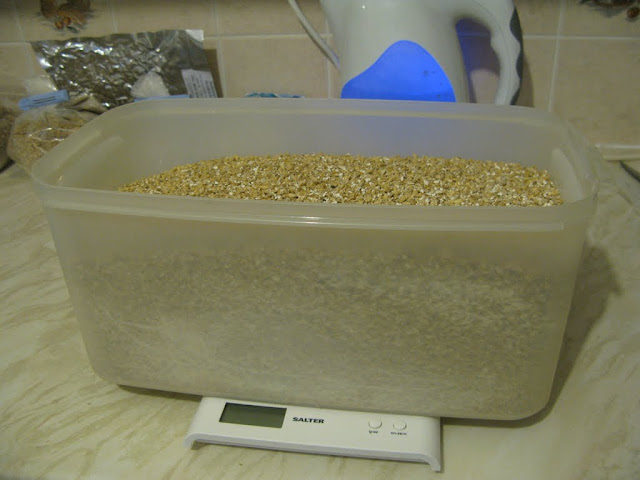
Weighing up the grist.
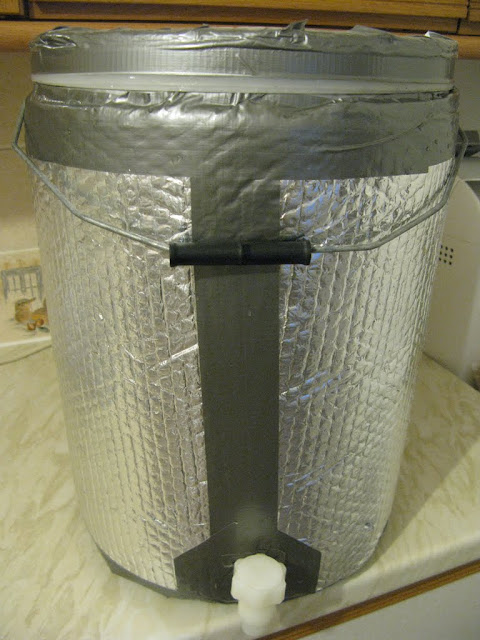
This is my newly insulated mash tun. It used to loose loads of heat (like 5c during the mash) when I just covered with a blanket. It now has two layers of reflective bubble wrap (radiator stuff from Wickes) then two layers on an old camping sleep mat and then a final layer of the wrap to make it shiny and wipe clean! I have also done the same to the top and lid.
This is my new false bottom – following several stuck mashes using a lunchbox with holes in it! The false bottom itself is an OXO good grips splatter guard off Amazon which has been trimmed down to fit the bucket base and the handle cut off. To this I have added a standard 15mm tank connecter and the pipe work is 15mm with two adapters taking it up to 27mm so that it snugly fits over the standard tap spigot. My brother is a plumber so soldered it up in about 30sec (I kid you not!)

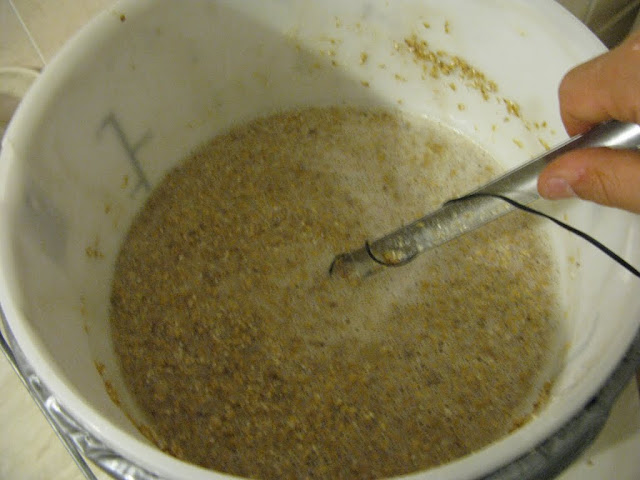
So I preheat the tun by filling it with the boiled strike water at about 80c and then let it settle down to my strike temperature of 72c.
Time to dough in. I always use that huge Tupperware to weigh the grains on my little digital kitchen scales. It makes it easier to pour into the tun with one hand while I stir with the other. The black wire is the one for the probe from my thermometer. I like to see the reading change in realtime as I find adjustments easier to make that way. This is also my dads homebrewing spoon which I nabbed a couple of years ago - I would be lost without it as its miles better than my white Young's one!
A pint of extra adjustment water brings me to my target mash temp of 66c within a minute or so. Unfortunately I didn’t know at the time that my thermometer was on the way out at reading a degree or two high so I believe I actually mashed at 64.5c roughly. I hope that will still be OK even if the beer is a little dry.
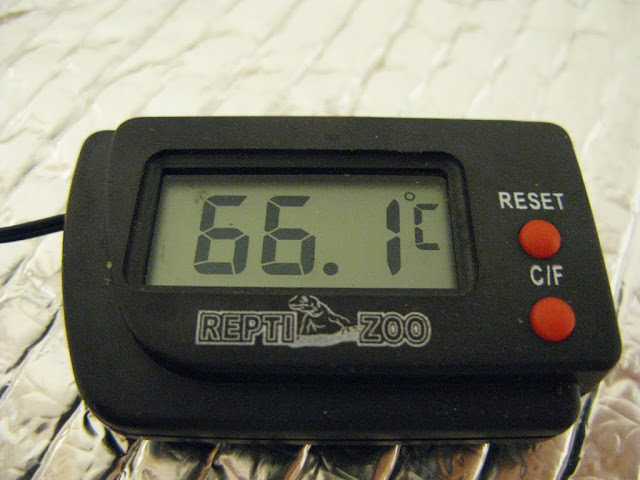
I ended up mashing for nearly 90 minutes and only lost 0.2c over the duration!
Time to sparge. I have had mixed results with fly sparging over the years but will persist until I get the process right. This is how I have to have my vessels set up.
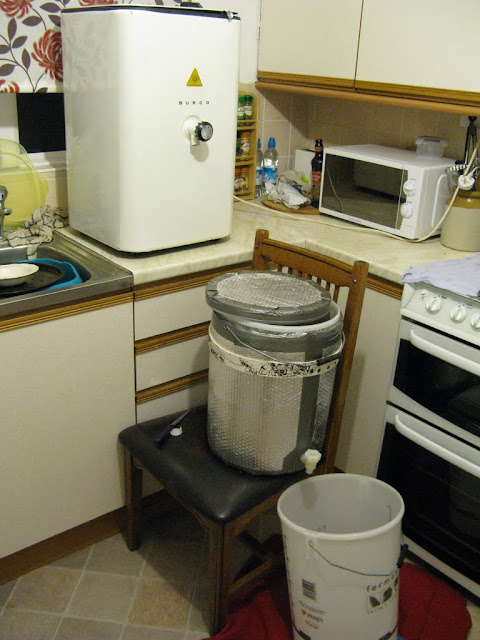
Boiler holds the strike water at 80c. This allows me to achieve good efficiency without a mash-out. I always assume that the siphoning and sprinkling of water will bring it down below the maximum allowed temperature. In future I will be monitoring the grainbed temperature as I think I may have over heated this time with my faulty thermometer.
This time I floated a Tupperware lid in the tun and ran the sparge water on this. It worked well as it rose and fell with the water level and grains remained undisturbed throughout.
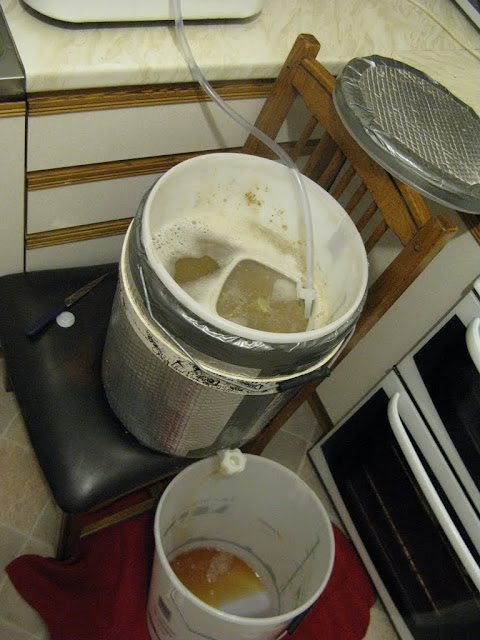
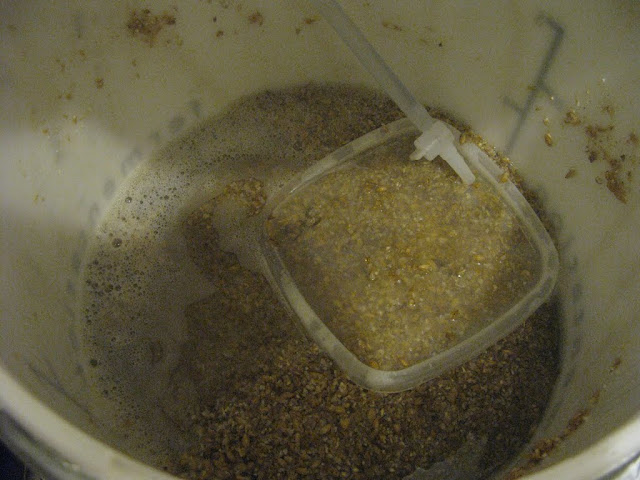
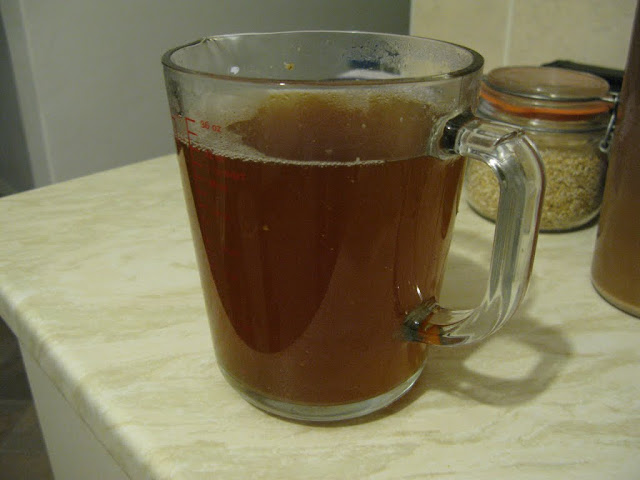
This is a photo of the wort. I always recirculate the first 3 or 4 litres slowly until its free of bits but it never runs clear. Am I doing anything wrong?
I do worry about the wort splashing down into the bottom bucket and getting hot side aeration. In future I think I will attach some home to the mash tun tap to reduce this. For now I just tilt the bucket to reduce splashing/froth.

The other part of my sparge process that has gone wrong is when to stop. I have always just sparged with all the sparge water until I end up with my recommended pre boil volume. The runnings go gradually paler until they are near clear by the end. I am now worried that my occasional problems with astringency have been due to tannin extraction from over sparging. In future I will taste the wort as I go and stop when it tastes astringent.
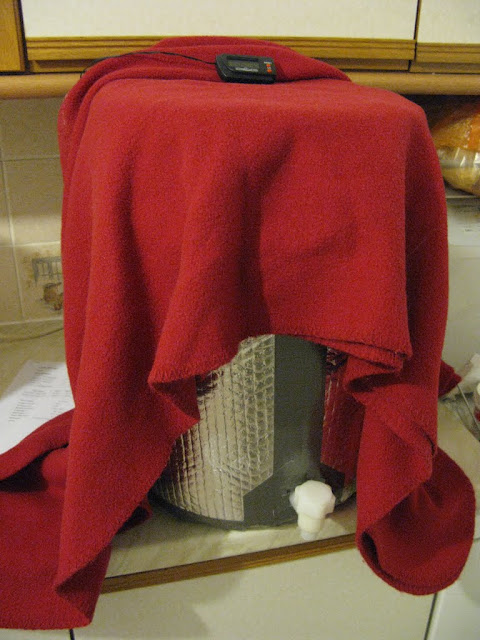
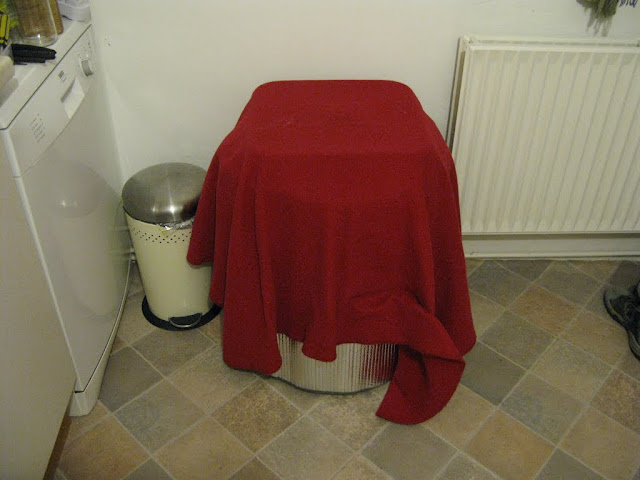
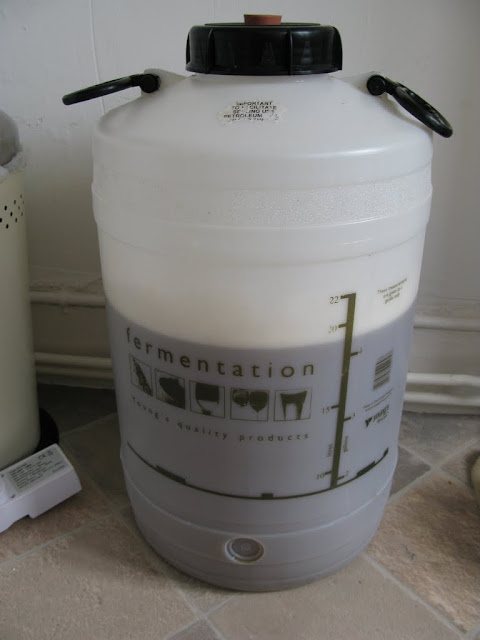
At this point (11pm) I put the wort into a sterile fermenter and seal it ready to continue in the morning. To help reduce heat loss and subsequently the boil time in the morning I chuck a fleece blanket over it.
Onto the morning boil. The wort is still at over 50c so that’s good - less heating required.
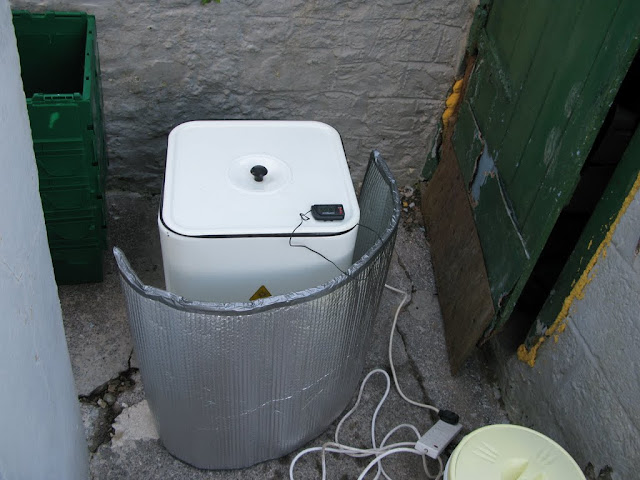
The wort is transferred to the boiler which is outside the back door and set to max. I use the thermometer and have the lid on to reduce heat up time as well. Note the reflective windbreak.
Once I have a rolling boil in goes the 100g of hops. This is a huge amount for someone used to British ales but the single addition is a welcome mental break.
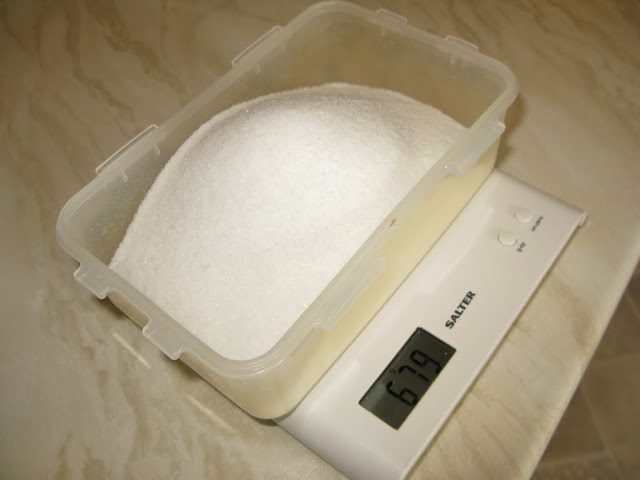
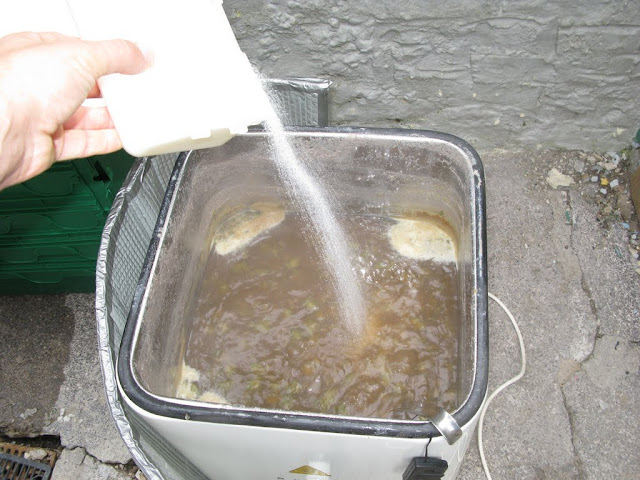
15min to go and in goes the sugar which is added gradually and stirred continuously.
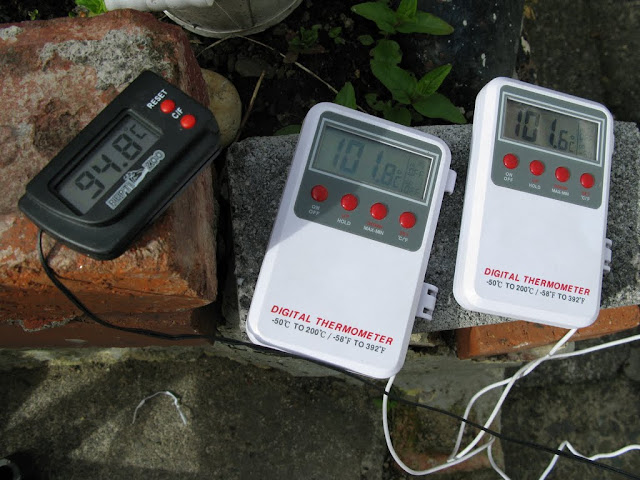
This is a good example of innacurate thermometers. All three dangling in the boiling wort - I wonder which is correct?
Once that’s done in goes the chiller. This is my chilling setup. I collect some of the waste hot water in a fermenter for cleaning purposes. This house has no water meter so I am free to crank it up to speed up the cooling process.
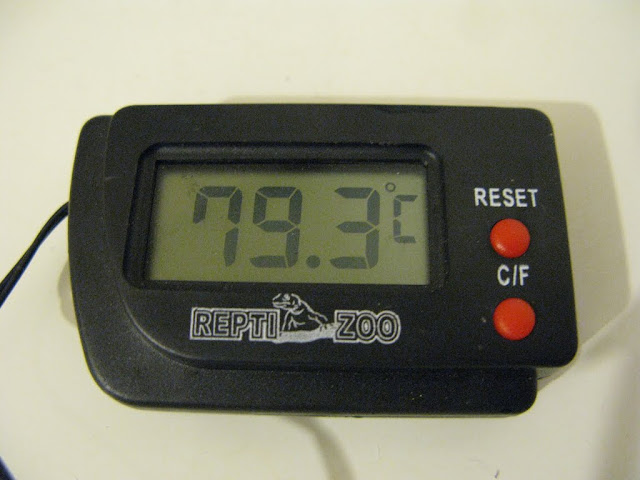
Stirring the wort rapidly increases the efficiency of cooling but I didn’t have much time for that today. Still I chilled the wort to 20c within about 25min which is excellent I think.
At this point I realised I had forgotten the Irish moss. I have never forgotten before, how much of a problem will this be do you think?
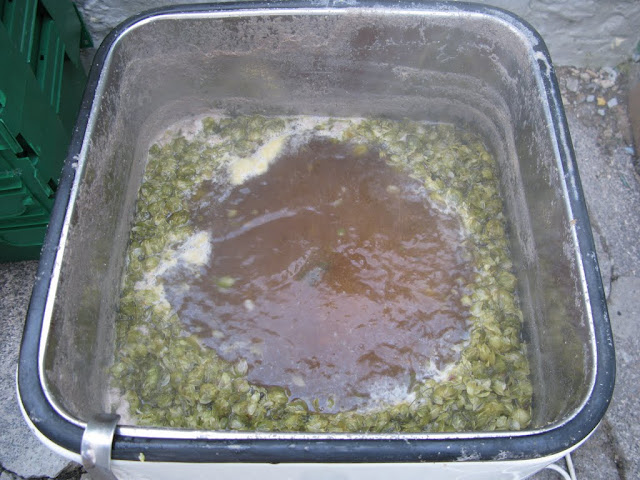
Transferring the cooled wort from the boiler is my biggest nightmare. The boiler tap is useless and trying to use it has cost batches before. So for now I have to let it settle for 30min and then siphon it out which isn’t ideal. The last gallon or so has to be tipped through a sieve/funnel into the fermenter. This means most of the cold break goes in the fermenter. This means the wort looks like this:
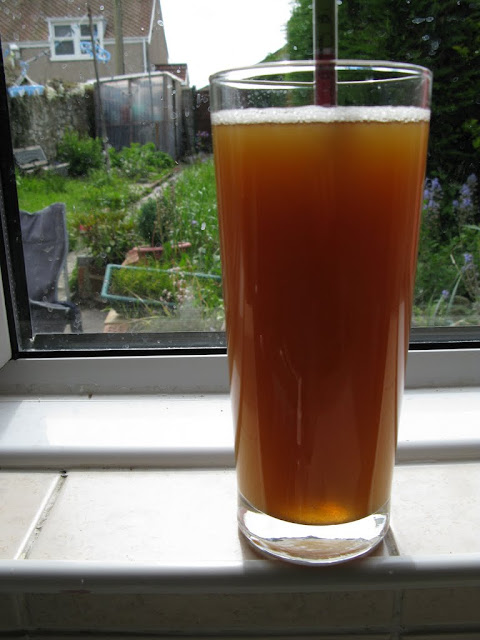
In future I might fit a hop stopper and tank connecter complete with pipe work/tap to the bottom of the boiler.
And the finished wort, waaaaaaaay above gravity and below on volume! It was windy and a long boil so combined with the 100g hop loss I must have had large losses.
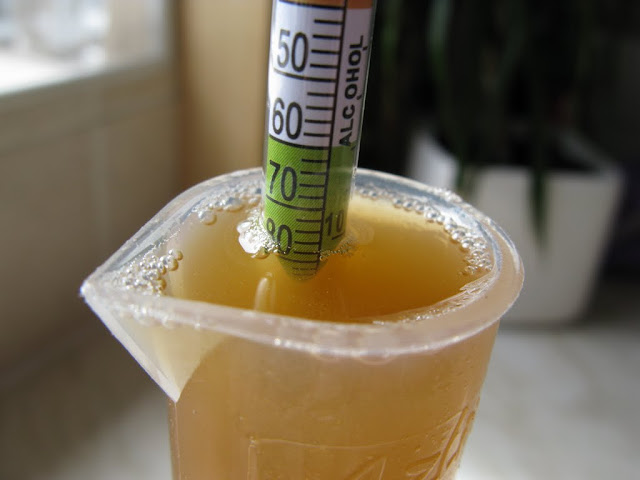
To adjust it to the specified 1.059 I had to add 1.25 Gallons of boiling water. This means I ended up with 6.25 Gallons in total as my efficiency was around 89%
The water addition raised the wort temp back up to 35c so I had to pitch later that day when it had cooled to 22c. On goes the lid and air lock.
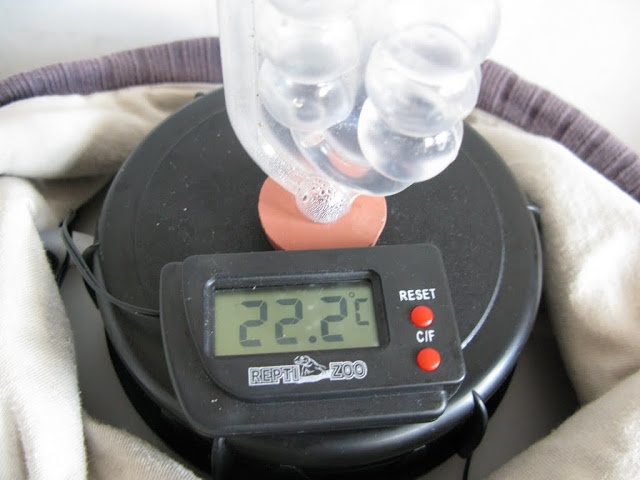
Only hours after pitching I saw the initial tentative bubbles. To keep it warm I decided the fermenter could wear my hoodie! The split starter obviously worked!
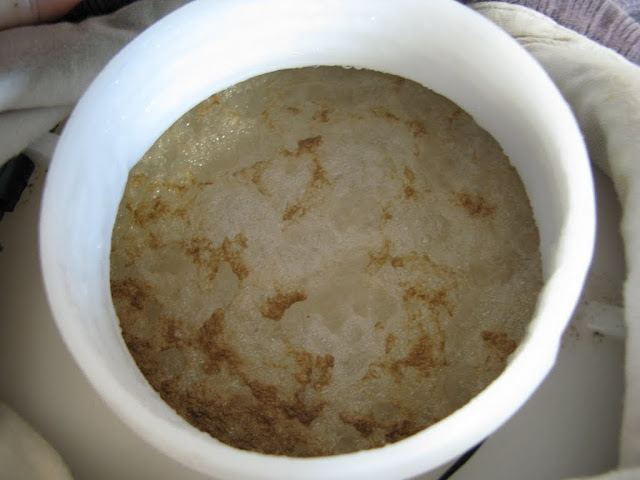
Next morning and the temperature has stabilised at my chosen 22c and fermentation is going like the clappers and the krausen is looking healthy. I have a heat mat under the fermenter to give background heat if needed but its
self warming for now.
That’s it for now. More photos and mumblings will follow. The plan is as follows:
Ferment for a week to ten days at 22c.
Crash cool for a week at 5c in my fridge
Rack into a new fermenter and add 2 part finings to counter the fact I forgot the irish moss. Leave for 24-48 hours to drop clear.
Bulk prime and bottle as normal.
Due to the continued teething problems I would appreciate any advice on the following balls ups:
Have I over sparged? If so what are the effects and how do you guys monitor your sparges?
How bad an effect will missing the Irish moss have? Can its job be done now by anything else?
The wort stays at 50c-70c over night, would this affect it in anyway?
My mash temperature was just over 64c in reality. How much of an effect does that really have?
I had to add lots of boiling water to the final cooled wort, I presume this is OK?
Does anyone have any tips to improve my shambolick process?!!
Thanks,
Dean.
Hi guys,
I thought I would make my first Brewday report / post. This time I was half organised and so managed to brew and take pictures – multitasking! I did however encounter a number of problems during the Brewday but hopefully none that will make it one for the drain. A good learning exercise though and I do feel I am getting close to having it sorted and working well.
I am a fan of clone brewing, I think it gives us something to aim at and is good at understanding the different styles of beer and what ingredients/brewing processes are needed to achieve them.
This time its everyone’s favourite overpriced bottled beer Leffe Blonde!
I did a fair bit of Googling and settled on the following fairly standard recipe.
We have only recently moved into this house and the plan was for me to have the brick shed at the back as a brewery. Unfortunately we are going to be moving again soonish and so for now I am brewing in limbo in the kitchen.Leffe Blone Clone
Batch size 5 UK Gallons
Expected efficiency 75%
Fermentables
Wyermann Premiere Pilsner Malt – 5000g
Dingemans Belgian Aromatic Malt – 250g
Thomas Fawcett Pale Wheat Malt – 250g
White Sugar – 680g
Colour 10 EBC
Hops
Hallertauer Hersbrucker - 100g 90min (Full boil)
Bitternes 24 IBU
Yeast
Whitelabs WLP 500 Trappist Yeast (Half a vial stepped up in a one - two litre starter)
Target OG: 1.059
Target FG: 1.009
Alcohol: 6.6% abv
Further to my previous posts I am a young dad with little time and a pregnant-not-always-understanding partner! So fitting a brew in to daily life is an art. Also she hates the smell of brewing so I can mash/sparge in doors if she isn’t there but boiling is a definite no no.
I used to wake up very early and try to get done by the time she woke up (providing breakfast in bed to encourage a lie in!) But now we have a little one I think splitting the brew day in half works better. This essentially means mashing/sparging on a Friday evening and boiling/chilling the next morning.
So here goes…
First, the compulsory refreshment...
Lots of new grains for me this time, always been a true brit before.
Likewise for the yeast (first time I have used a liquid) and the continental hops.
To try and save money and experiment with storing yeast longer term, I pitched half the vial into a one litre starter and then stepped it up to two litres. After a week or so it was chilled and I racked most of the wort off before pitching.
Here is my current plastic brewery. Its much improved now after getting some more plastic vessels from my local recycling centre. Winner! I decided not to use my HLT today as it’s a work in progress really and stuck with my retro Burco laundry boiler.
I still need to get a solar pump though. All the issues I have involve transferring wort so that is what is most pressing. That and a thermometer that is actually accurate!
Weighing up the grist.
This is my newly insulated mash tun. It used to loose loads of heat (like 5c during the mash) when I just covered with a blanket. It now has two layers of reflective bubble wrap (radiator stuff from Wickes) then two layers on an old camping sleep mat and then a final layer of the wrap to make it shiny and wipe clean! I have also done the same to the top and lid.
This is my new false bottom – following several stuck mashes using a lunchbox with holes in it! The false bottom itself is an OXO good grips splatter guard off Amazon which has been trimmed down to fit the bucket base and the handle cut off. To this I have added a standard 15mm tank connecter and the pipe work is 15mm with two adapters taking it up to 27mm so that it snugly fits over the standard tap spigot. My brother is a plumber so soldered it up in about 30sec (I kid you not!)
So I preheat the tun by filling it with the boiled strike water at about 80c and then let it settle down to my strike temperature of 72c.
Time to dough in. I always use that huge Tupperware to weigh the grains on my little digital kitchen scales. It makes it easier to pour into the tun with one hand while I stir with the other. The black wire is the one for the probe from my thermometer. I like to see the reading change in realtime as I find adjustments easier to make that way. This is also my dads homebrewing spoon which I nabbed a couple of years ago - I would be lost without it as its miles better than my white Young's one!
A pint of extra adjustment water brings me to my target mash temp of 66c within a minute or so. Unfortunately I didn’t know at the time that my thermometer was on the way out at reading a degree or two high so I believe I actually mashed at 64.5c roughly. I hope that will still be OK even if the beer is a little dry.
I ended up mashing for nearly 90 minutes and only lost 0.2c over the duration!
Time to sparge. I have had mixed results with fly sparging over the years but will persist until I get the process right. This is how I have to have my vessels set up.
Boiler holds the strike water at 80c. This allows me to achieve good efficiency without a mash-out. I always assume that the siphoning and sprinkling of water will bring it down below the maximum allowed temperature. In future I will be monitoring the grainbed temperature as I think I may have over heated this time with my faulty thermometer.
This time I floated a Tupperware lid in the tun and ran the sparge water on this. It worked well as it rose and fell with the water level and grains remained undisturbed throughout.
This is a photo of the wort. I always recirculate the first 3 or 4 litres slowly until its free of bits but it never runs clear. Am I doing anything wrong?
I do worry about the wort splashing down into the bottom bucket and getting hot side aeration. In future I think I will attach some home to the mash tun tap to reduce this. For now I just tilt the bucket to reduce splashing/froth.
The other part of my sparge process that has gone wrong is when to stop. I have always just sparged with all the sparge water until I end up with my recommended pre boil volume. The runnings go gradually paler until they are near clear by the end. I am now worried that my occasional problems with astringency have been due to tannin extraction from over sparging. In future I will taste the wort as I go and stop when it tastes astringent.
At this point (11pm) I put the wort into a sterile fermenter and seal it ready to continue in the morning. To help reduce heat loss and subsequently the boil time in the morning I chuck a fleece blanket over it.
Onto the morning boil. The wort is still at over 50c so that’s good - less heating required.
The wort is transferred to the boiler which is outside the back door and set to max. I use the thermometer and have the lid on to reduce heat up time as well. Note the reflective windbreak.
Once I have a rolling boil in goes the 100g of hops. This is a huge amount for someone used to British ales but the single addition is a welcome mental break.
15min to go and in goes the sugar which is added gradually and stirred continuously.
This is a good example of innacurate thermometers. All three dangling in the boiling wort - I wonder which is correct?
Once that’s done in goes the chiller. This is my chilling setup. I collect some of the waste hot water in a fermenter for cleaning purposes. This house has no water meter so I am free to crank it up to speed up the cooling process.
Stirring the wort rapidly increases the efficiency of cooling but I didn’t have much time for that today. Still I chilled the wort to 20c within about 25min which is excellent I think.
At this point I realised I had forgotten the Irish moss. I have never forgotten before, how much of a problem will this be do you think?
Transferring the cooled wort from the boiler is my biggest nightmare. The boiler tap is useless and trying to use it has cost batches before. So for now I have to let it settle for 30min and then siphon it out which isn’t ideal. The last gallon or so has to be tipped through a sieve/funnel into the fermenter. This means most of the cold break goes in the fermenter. This means the wort looks like this:
In future I might fit a hop stopper and tank connecter complete with pipe work/tap to the bottom of the boiler.
And the finished wort, waaaaaaaay above gravity and below on volume! It was windy and a long boil so combined with the 100g hop loss I must have had large losses.
To adjust it to the specified 1.059 I had to add 1.25 Gallons of boiling water. This means I ended up with 6.25 Gallons in total as my efficiency was around 89%
The water addition raised the wort temp back up to 35c so I had to pitch later that day when it had cooled to 22c. On goes the lid and air lock.
Only hours after pitching I saw the initial tentative bubbles. To keep it warm I decided the fermenter could wear my hoodie! The split starter obviously worked!
Next morning and the temperature has stabilised at my chosen 22c and fermentation is going like the clappers and the krausen is looking healthy. I have a heat mat under the fermenter to give background heat if needed but its
self warming for now.
That’s it for now. More photos and mumblings will follow. The plan is as follows:
Ferment for a week to ten days at 22c.
Crash cool for a week at 5c in my fridge
Rack into a new fermenter and add 2 part finings to counter the fact I forgot the irish moss. Leave for 24-48 hours to drop clear.
Bulk prime and bottle as normal.
Due to the continued teething problems I would appreciate any advice on the following balls ups:
Have I over sparged? If so what are the effects and how do you guys monitor your sparges?
How bad an effect will missing the Irish moss have? Can its job be done now by anything else?
The wort stays at 50c-70c over night, would this affect it in anyway?
My mash temperature was just over 64c in reality. How much of an effect does that really have?
I had to add lots of boiling water to the final cooled wort, I presume this is OK?
Does anyone have any tips to improve my shambolick process?!!
Thanks,
Dean.