Muntons Winter Warmer with pics part 1 fermenting

Discuss making up beer kits - the simplest way to brew.
Post Reply
Weejock

Muntons Winter Warmer with pics part 1 fermenting

Post by Weejock » Sun Oct 11, 2009 4:15 pm

This is my 5th kit brew, still learning. Comments by beginners and experienced welcomed.

How I brewed a Munton's Winter Warmer;

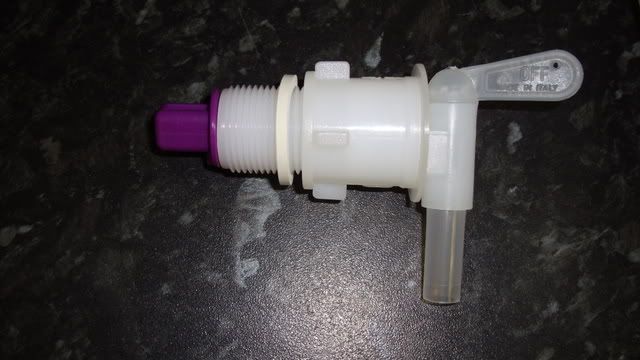
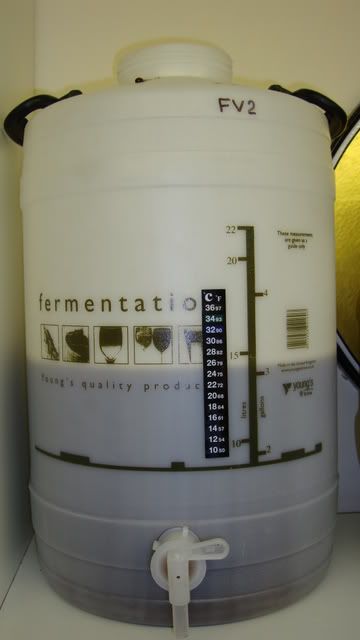
First off, I have a Wilko's fermenting barrel, I want to fit a tap to it to make racking a bit easier...
Image

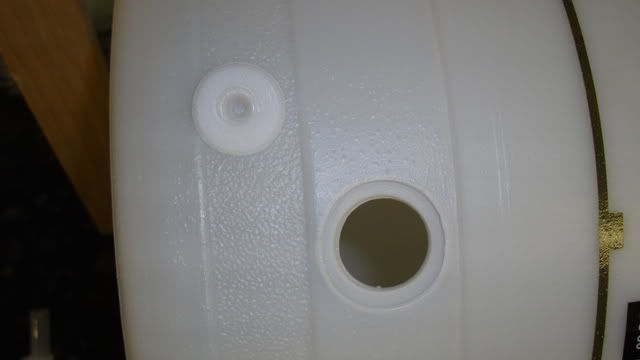
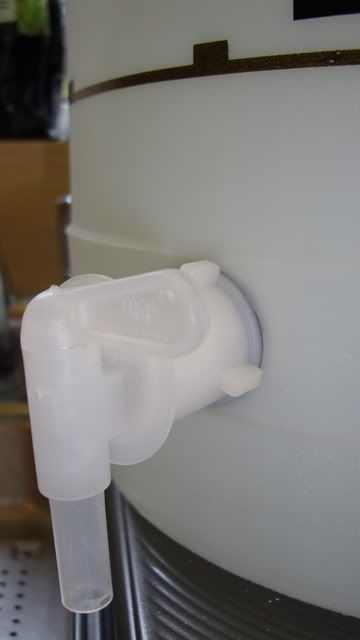
As advised by other posts, a 25mm flat bit...
Image

Nice clean hole with cut-out...
Image

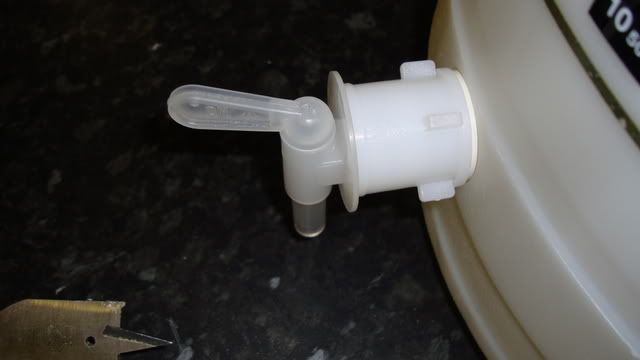
Fix the tap to the barrel...
Image

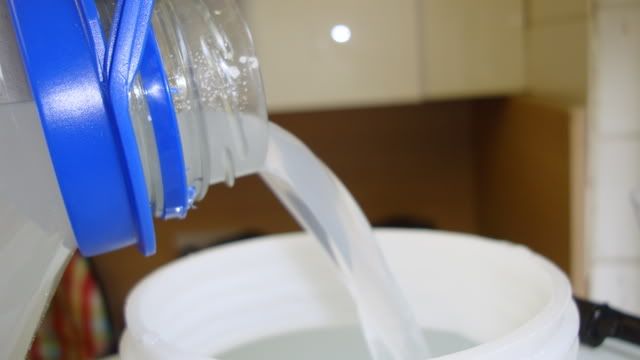
Fill up to the brim with water to test...
Image

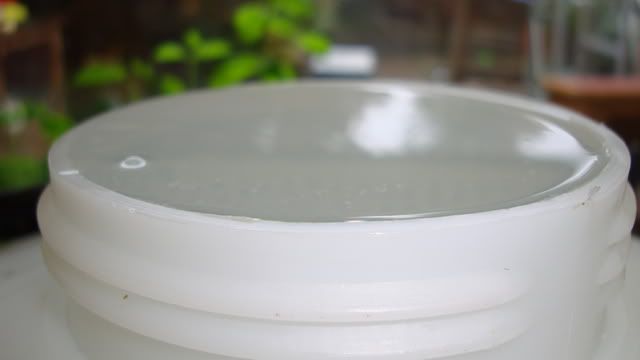
I'm watching the seal like a hawk for the smallest sign of a leak...
Image

Next, scrub the sink area clean...
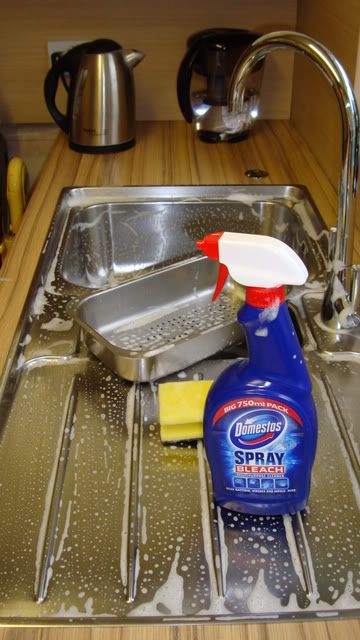
Image

All clean!
Image

All equipment laid out ready to sanitize...
Image

Am using 5l mineral water to mix the sanitizer in batches...
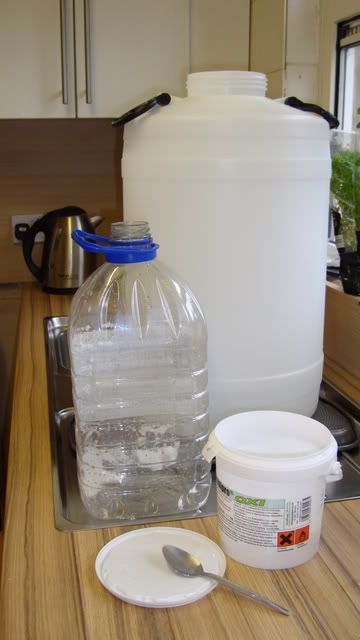
Image

Mix each batch...
Image

And pour into barrel...
Image

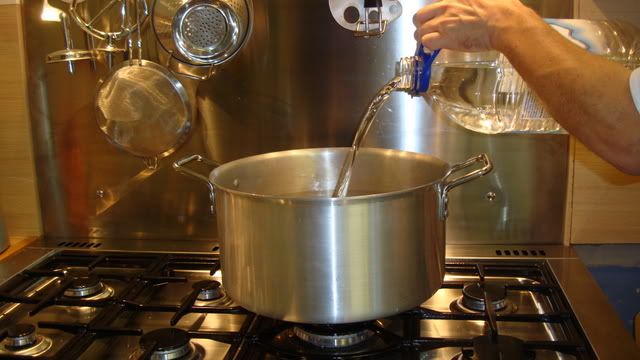
Meanwhile, start to heat some water...
Image

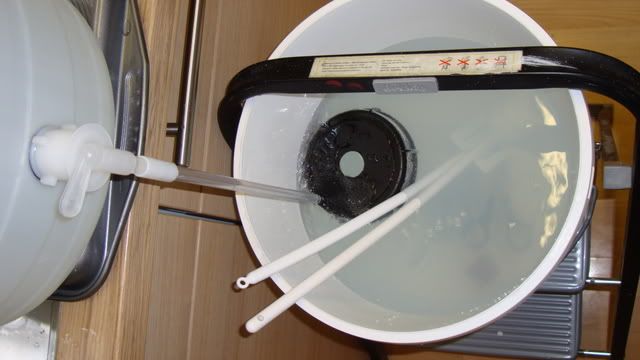
After 1/2 hour, transfer the sanitizibg solution to a food-grade bucket...
Image

And place in it all other items to be used; spoons, airlock, lids, sealing rings etc.;
Image

Everthing sanitized, rinsed, drained and dried...
Image

Fill a kettle with water, in my case I am using mineral water as the tap water is full of chloramines...
Image

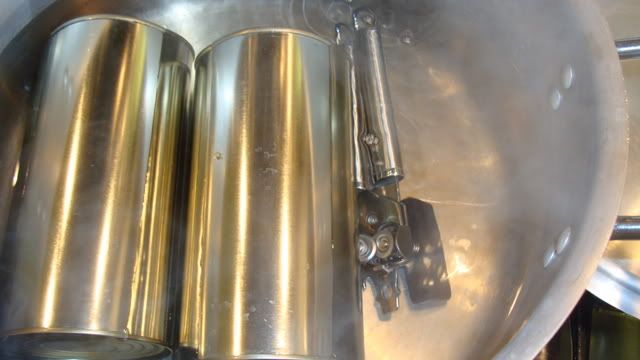
Place the kit cans in the heated water, as you can see the missus has returned (thought I had the place to myself) and started on dinner..
Image

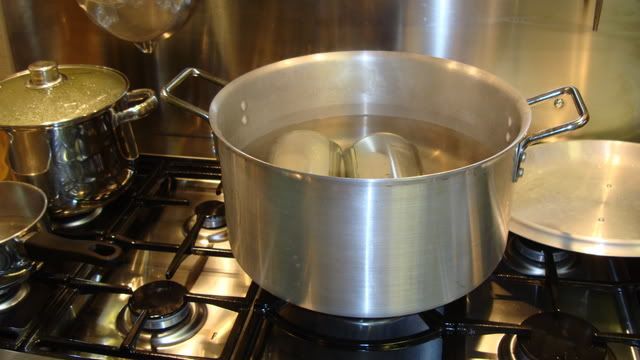
Get the temperature up to at least 90c, don't want boil as may split the kit cans...
Image

and pop the tin opener into th the pot to sanitize...
Image

Open the tins and pour into the fermenting vessel...
Image

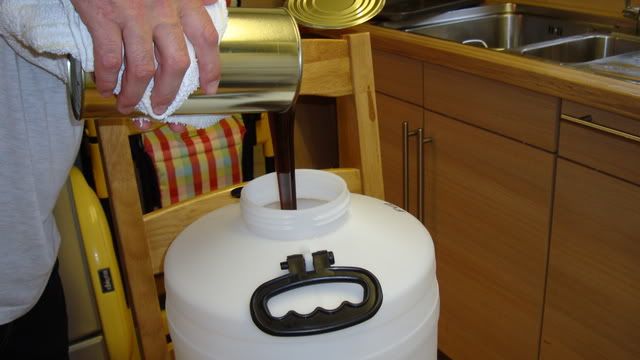
Use the boiled kettle water to rinse out the cans...
Image

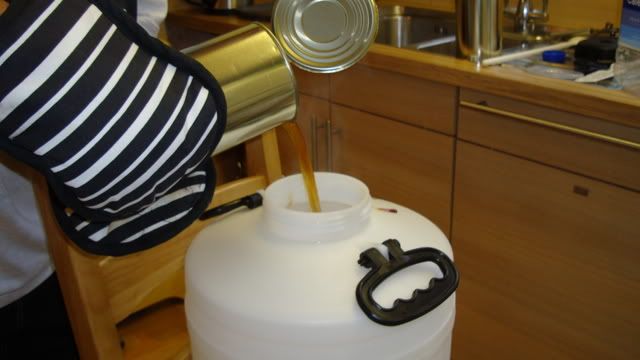
Stir up the remaining extract...
Image

and pour into the FV; notice the oven gloves, hot!
Image

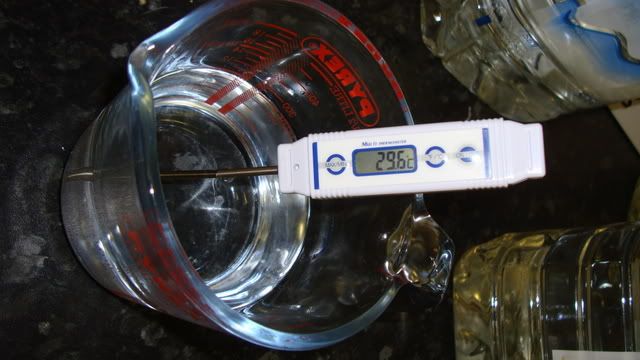
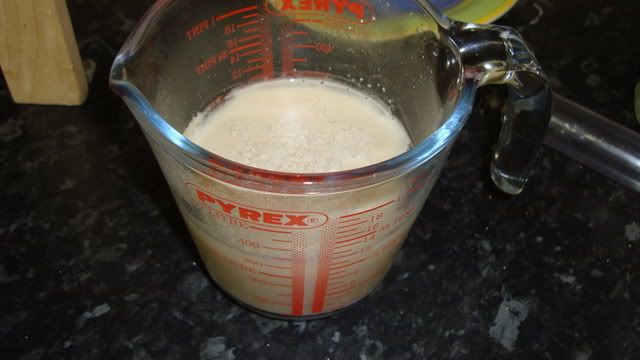
Next start the yeast off, boiled and cooled water at 30c...
Image

I've taken to using Munton's yeast, I find that it does not "stall" and flocculates very well (settles to the bottom)...
Image

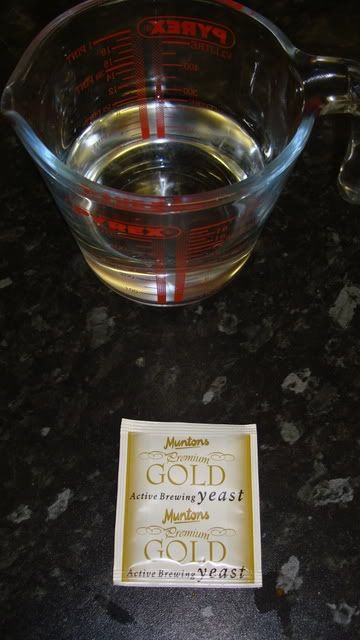
Yeast tipped into water...
Image

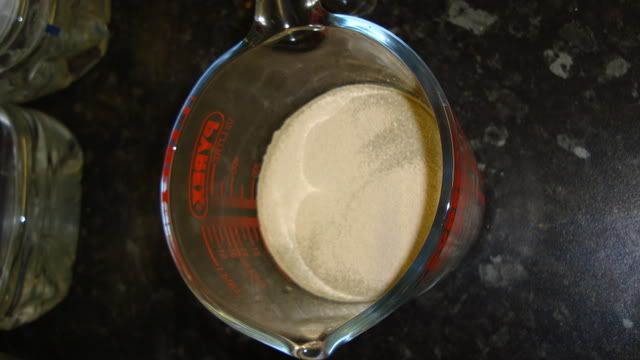
covered with plate...
Image

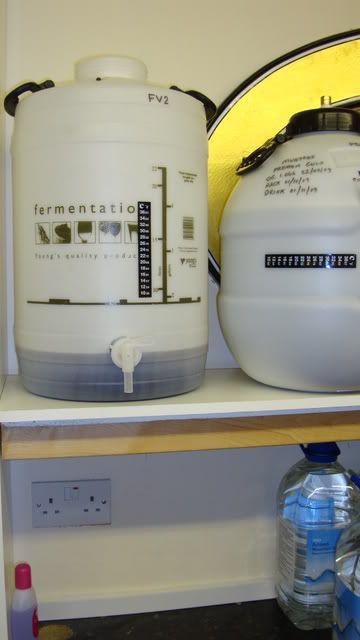
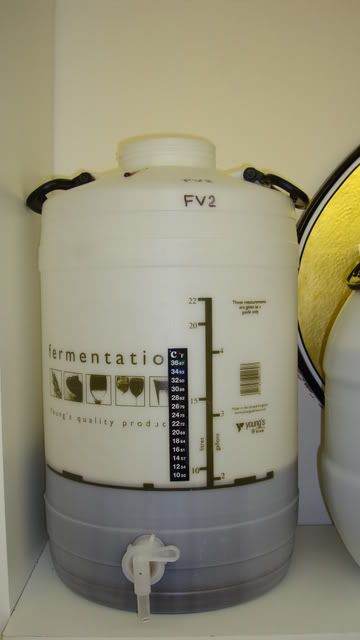
Next, the FV with the kit ingredients and boiling water are place in final position, - too heavy to lift after filling...
Image

and the water filling begins...
Image
Image
Image
Image

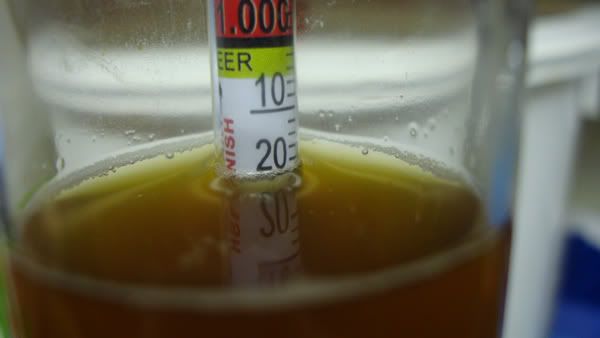
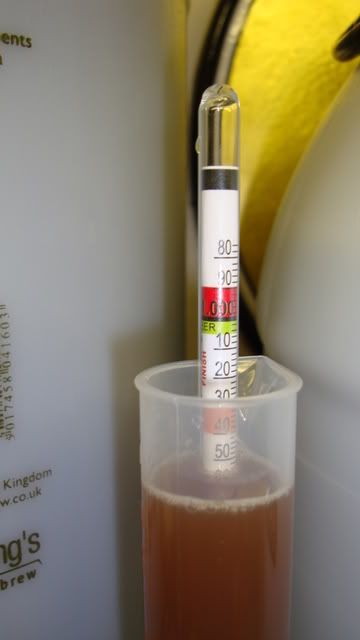
Before adding the yeast, don't forget to take a hydrometer reading, this one is 1.055 O.G.
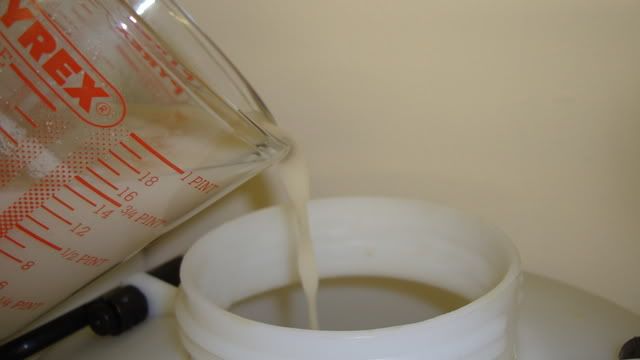
Image

Yeast is ready...
Image

Pitching the yeast...
Image

Yummy beer to be...
Image

Lid on tight, 12 hours later...Bubbles!
Image

Next to follow... Racking the brew. If you got this far don't forget to reward yourself with a beer!
Last edited by Weejock on Mon Oct 19, 2009 7:42 pm, edited 2 times in total.

sargie

Re: Kit brewing newbie's guide in pictures - by a newbie!

Post by sargie » Sun Oct 11, 2009 4:41 pm

Great post m8 will be very usefull to allot of people that.

lukesharpe

Re: Kit brewing newbie's guide in pictures - by a newbie!

Post by lukesharpe » Sun Oct 11, 2009 5:15 pm

Excellent post. We like to see the Brew Pr0n!

You're wife much love when you brew, that sink was sparkling! Must admit I'm not quite as fastidious when it comes to cleaning.

User avatar
6470zzy
Telling everyone Your My Best Mate
Posts: 4356
Joined: Sun Jun 14, 2009 7:07 pm
Location: Cape Cod

Re: Kit brewing newbie's guide in pictures - by a newbie!

Post by 6470zzy » Sun Oct 11, 2009 5:35 pm

That was a great chronicle of your brewing, I really like the photographs. What are you aiming at for a final gravity?

Cheers
"Work is the curse of the drinking class"
Oscar Wilde

Weejock

Re: Kit brewing newbie's guide in pictures - by a newbie!

Post by Weejock » Sun Oct 11, 2009 5:41 pm

The kit reckons 5.5%abv so any final gravity of 1.014 or below should be good. See http://www.rooftopbrew.net/abv_calculator.php

Gepa

Re: Kit brewing newbie's guide in pictures - by a newbie!

Post by Gepa » Sun Oct 11, 2009 6:59 pm

great pic's of your brewing process

Weejock

Re: Kit brewing newbie's guide in pictures - by a newbie!

Post by Weejock » Thu Oct 15, 2009 7:45 am

Day 9, still bubbling!

SG 1.020, guess it is still fermenting. Is it normal to ferment this long?

Image

EoinMag

Re: Kit brewing newbie's guide in pictures - by a newbie!

Post by EoinMag » Thu Oct 15, 2009 10:22 am

Weejock wrote:Day 9, still bubbling!

SG 1.020, guess it is still fermenting. Is it normal to ferment this long?

Image
1.020 seems to be a FG that Muntons yeasts like.

User avatar
Nobby Novice
Steady Drinker
Posts: 96
Joined: Tue Apr 14, 2009 12:56 pm
Location: Swindon

Re: Muntons Winter Warmer kit in pictures - by a beginner

Post by Nobby Novice » Fri Oct 16, 2009 9:34 am

Great pics. Where do you get those stick on thermometers from ?
Fermenting 1: Browning's Porter
36 Pint Cask:
Brewing :Christmas's Past Golden Ale
Drinking :Boddingtons Bitter Clone

moobli

Re: Muntons Winter Warmer kit in pictures - by a beginner

Post by moobli » Fri Oct 16, 2009 10:28 am

they look like the aquarium type so try an aquarist or pet shop

Weejock

Re: Muntons Winter Warmer kit in pictures - by a beginner

Post by Weejock » Fri Oct 16, 2009 12:42 pm

Nobby Novice wrote:Great pics. Where do you get those stick on thermometers from ?
They are identical to the aquarium stick-ons. I got mine from www.the-home-brew-shop.co.uk I think arouns 60p each.

The Home Brew Shop

Re: Muntons Winter Warmer kit in pictures - by a beginner

Post by The Home Brew Shop » Mon Oct 19, 2009 1:34 pm

The LCD thermometers ( 100127 ) are £1.38 each
and the White pen waterproof thermometer ( 101945 ) is £11.96

DrGonz00

Re: Muntons Winter Warmer with pics part 1 fermenting

Post by DrGonz00 » Mon Oct 19, 2009 9:00 pm

Great post mate

I brewed Winter warmer a month ago. Couldnt get the SG below 1020.
I tried rousing, adding Yeast Vit I even added extra yeast,left it for 20 days still wouldnt budge.

I've now bottled it and am gonna leave it till xmas

What was your SG before you bottled and have you tasted it yet?

Weejock

Re: Muntons Winter Warmer with pics part 1 fermenting

Post by Weejock » Mon Oct 19, 2009 9:26 pm

Eventually down to 1.016. Seememed to bubble for ages (10 days). Did taste it on bottling, tasted wonderful! looking forward to the finished product, will probably leave until the end of the year.

Post Reply