People always say that small-batch brewing is a lot of faff for not much beer, and they’re probably right, so I made ease of use and a quick brewday my top priorities. A one-pot recirculating system, like the Grainfather but smaller, seemed like the best solution.
And so the Grainbaby was born!
THE BUILD
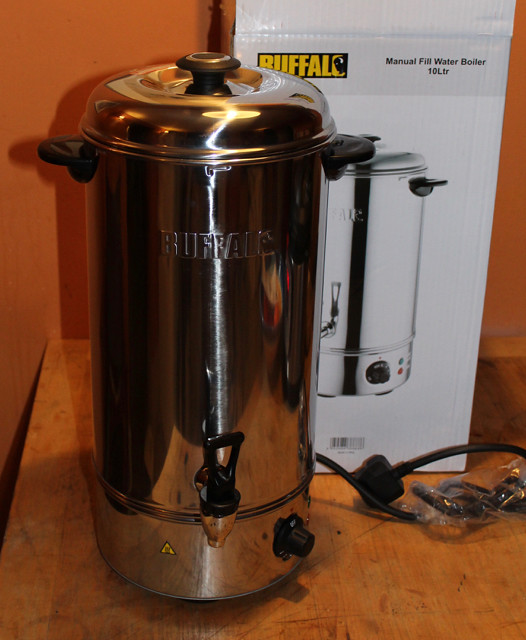
To begin with, a ten-litre, 3kW Buffalo tea urn, on sale at Nisbets:
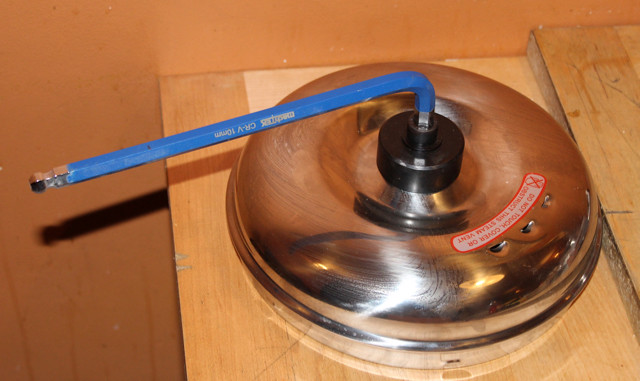
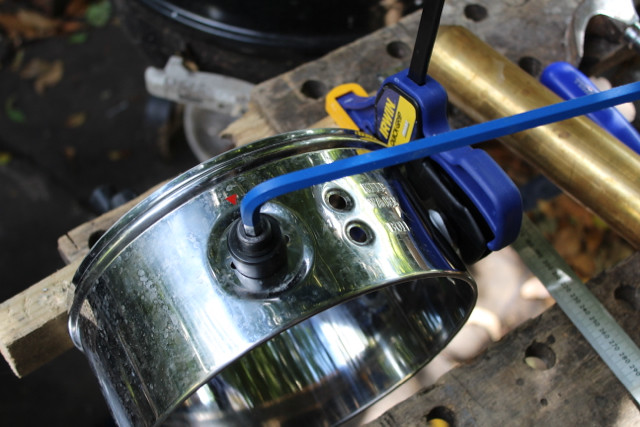
 IMG_0121 by Luke Vinten, on Flickr
Punching a hole for the steam to exit.
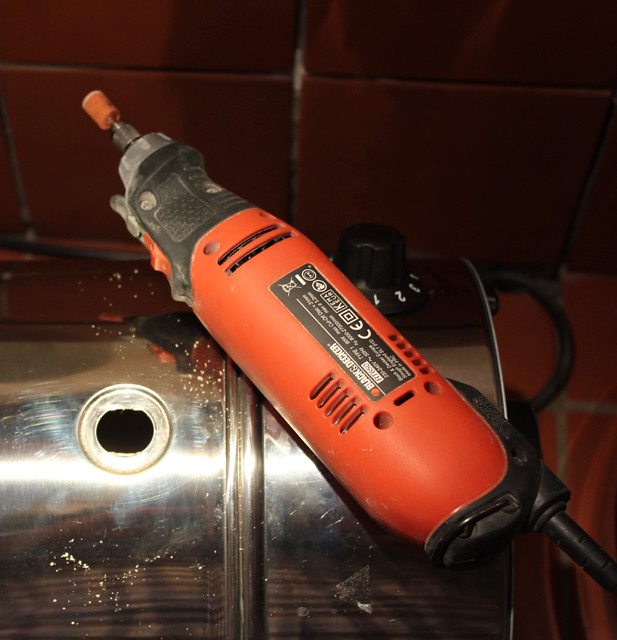
 IMG_0138 by Luke Vinten, on Flickr
Grinding the tap hole into a circle.
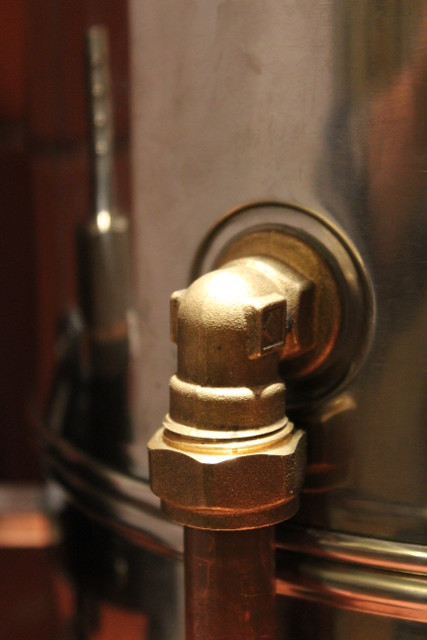
 IMG_0148 by Luke Vinten, on Flickr
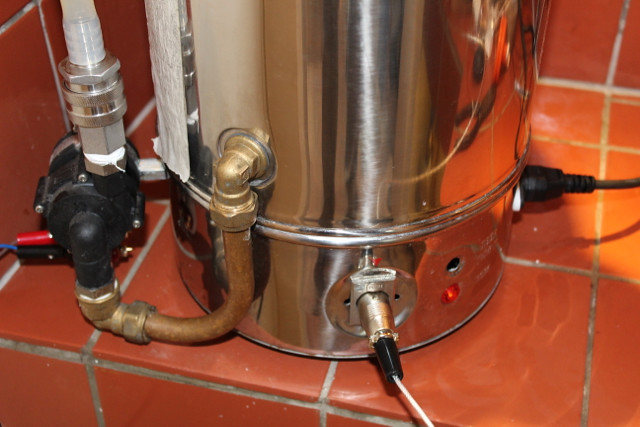
A 15mm x ½” elbow goes into the tap hole, with a back nut inside. The o-ring from the original tap sits between the flange and the vessel wall.
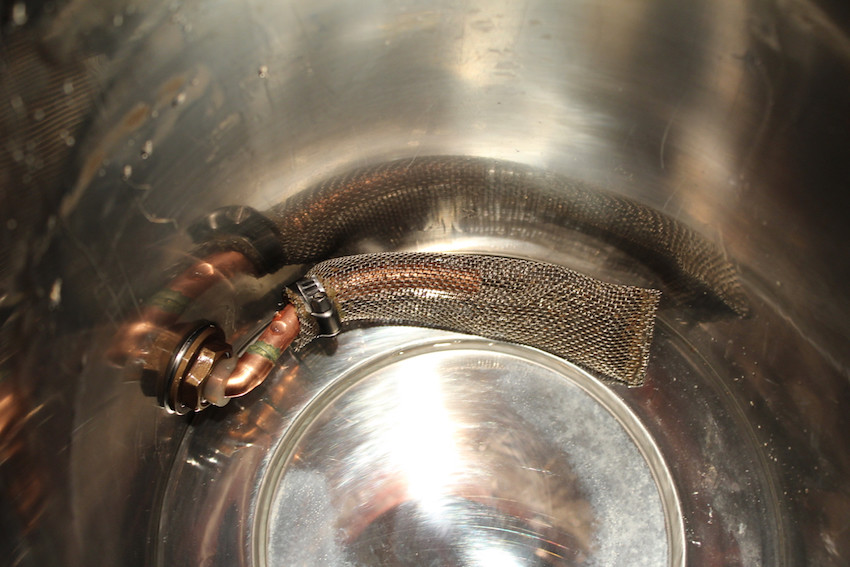
 IMG_0177 by Luke Vinten, on Flickr
Hop filter, 10mm copper pipe, and a ‘street’ elbow which wedges into the back of the elbow with the help of some silicone tube:
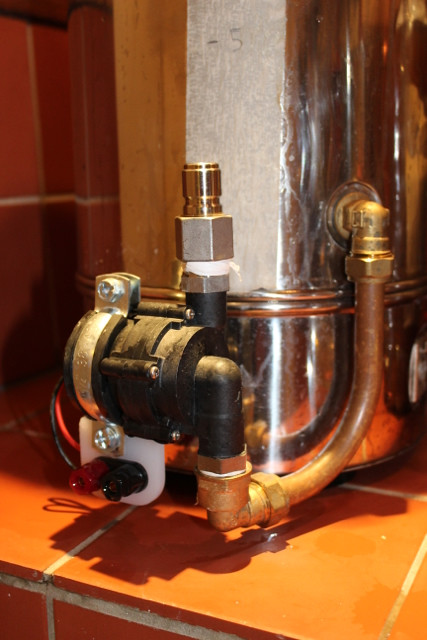
 IMG_0565 by Luke Vinten, on Flickr
On the outside, a Topsflo TS5 pump and a Quick Disconnect:
 IMG_0577 by Luke Vinten, on Flickr
Back inside, a PT100 probe for the mash. It seemed neater to go in through the base:
 IMG_0562 by Luke Vinten, on Flickr
I wanted all the leads to be detachable, so added an XLR socket for the PT100:
 IMG_0514 by Luke Vinten, on Flickr
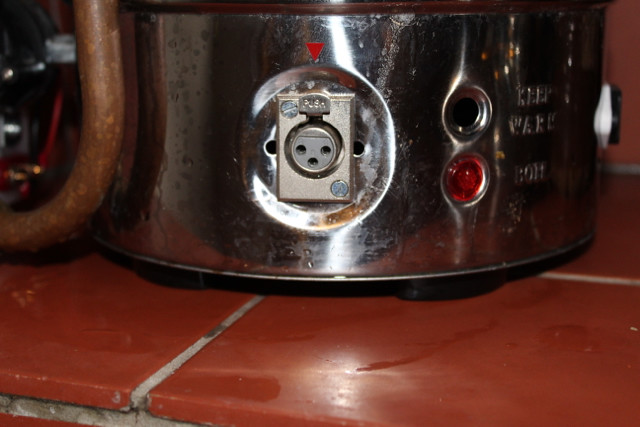 IMG_0570 by Luke Vinten, on Flickr
… and a kettle socket for the power cable:
 IMG_0517 by Luke Vinten, on Flickr
… and banana sockets for the pump. Here it is with everything plugged in and ready to roll:
 IMG_0528 by Luke Vinten, on Flickr
The underside …
1) pre-tinkering:
 IMG_0147 by Luke Vinten, on Flickr
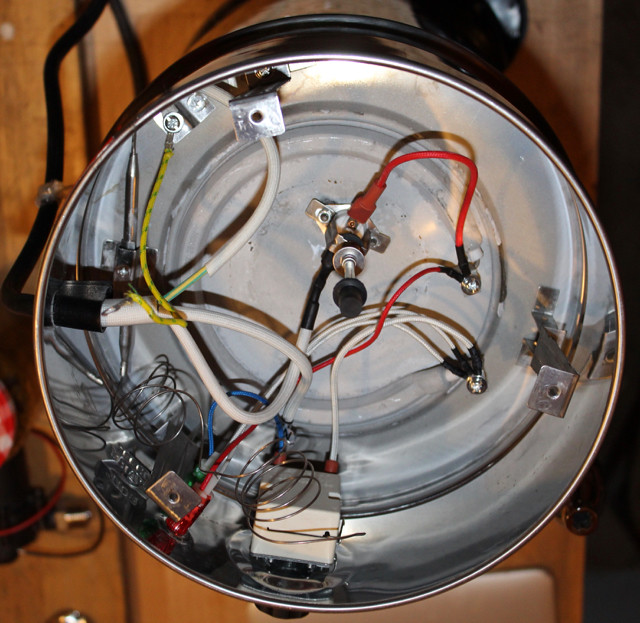
2) Post-tinkering, with the thermostat removed and PT100 added:
 IMG_0521 by Luke Vinten, on Flickr
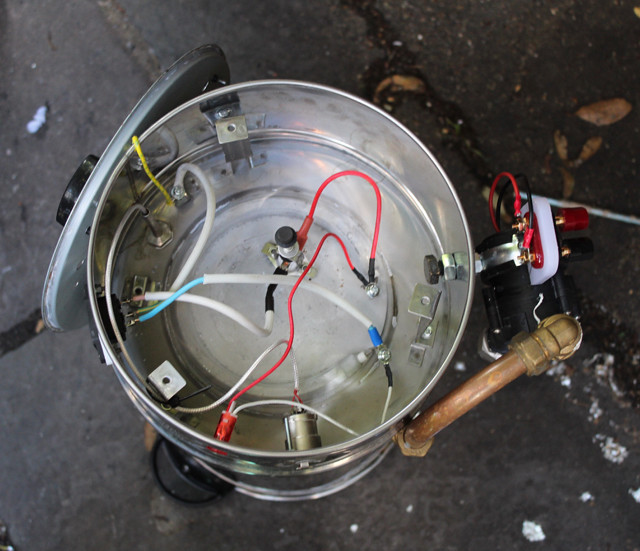
I tried and failed to find a right-sized saucepan for the malt-pipe, so had to make one from a sheet of stainless wrapped around a piece of plastic chopping board, secured with stainless screws and bolts. It’s what you might call a bit agricultural but it works:
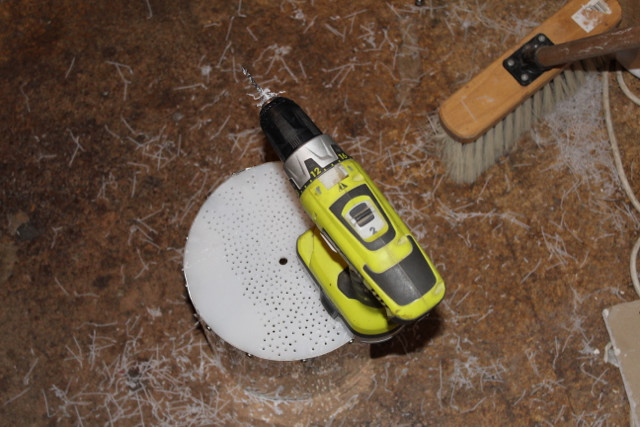 IMG_0505 by Luke Vinten, on Flickr
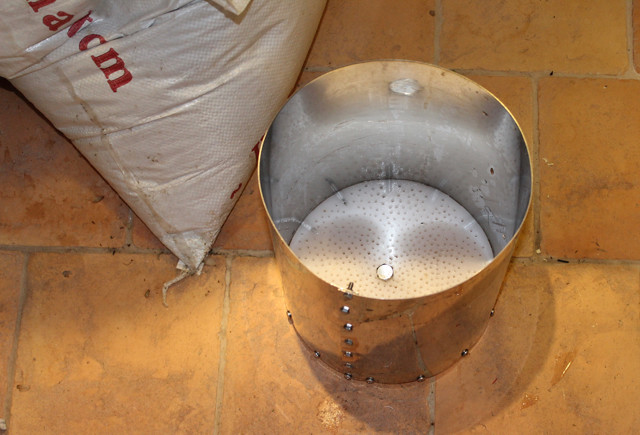 IMG_0541 by Luke Vinten, on Flickr
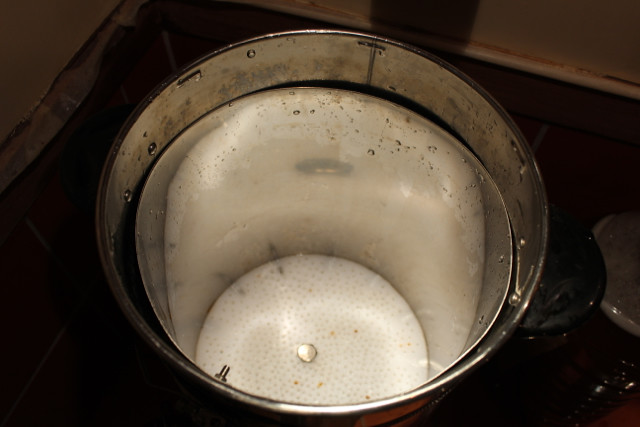 IMG_0561 by Luke Vinten, on Flickr
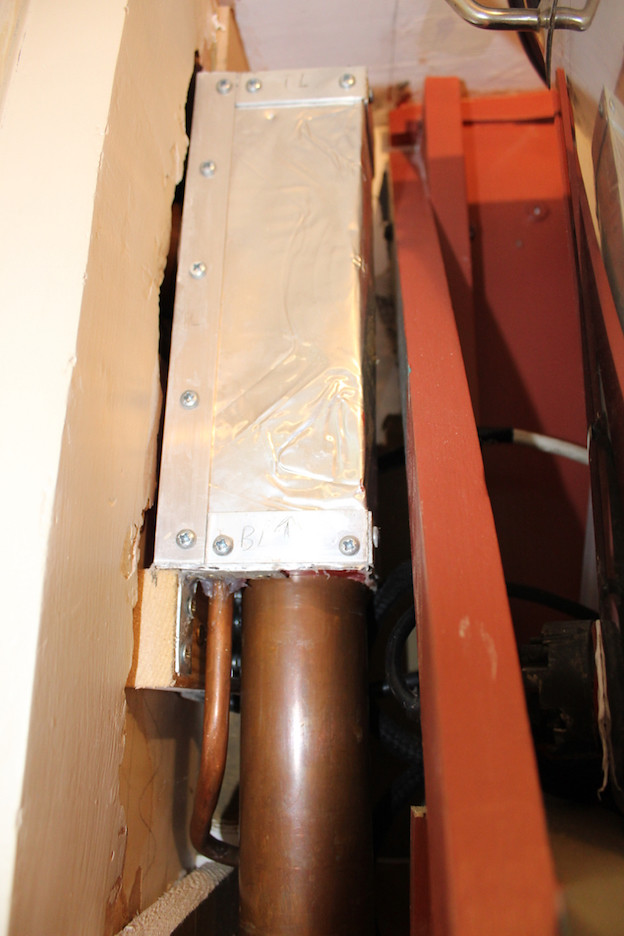
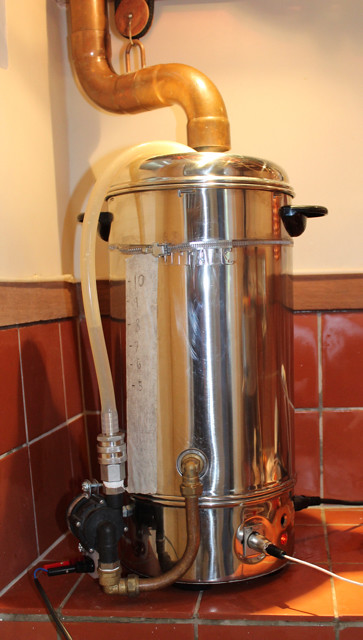
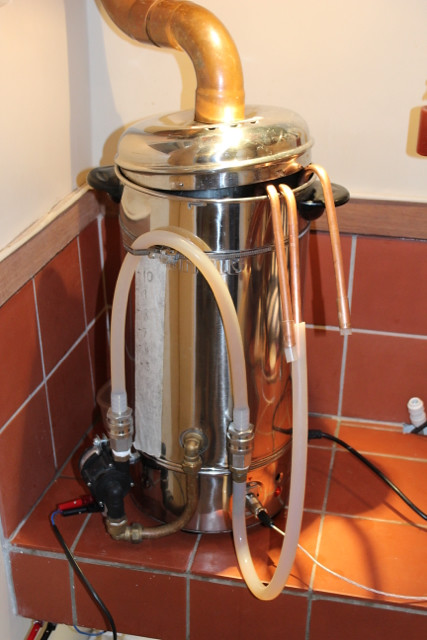
The finished Grainbaby slots into the existing five-gallon brewery, replacing the boiler (which you can see here relegated to the third division) and using the same chimney:
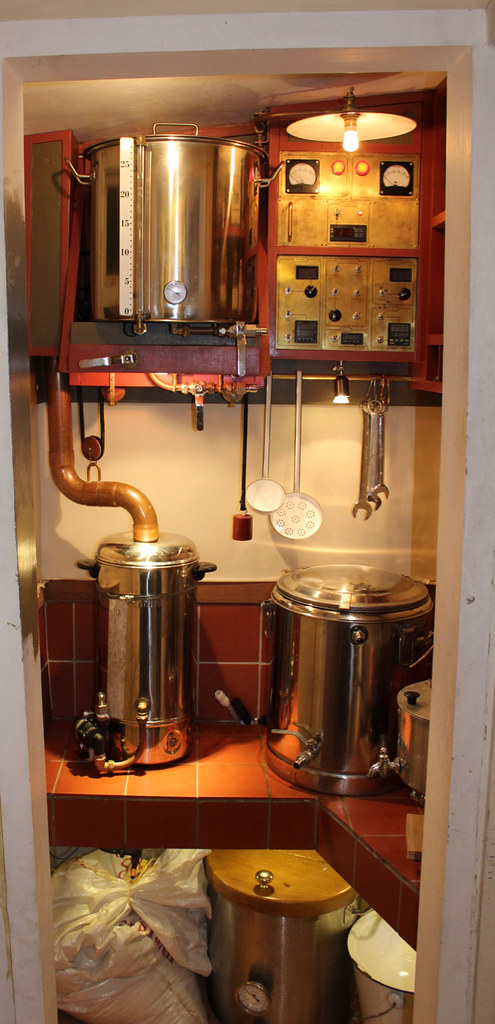 IMG_0592 (1) by Luke Vinten, on Flickr
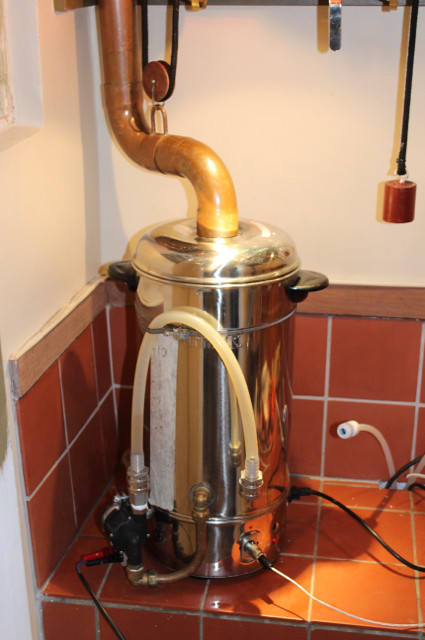
I mash at full-volume:
 IMG_0532 by Luke Vinten, on Flickr
During the mash, the element is switched by the PID/SSR combo which in the five-gallon brewery controls the HERMS system. I should probably reprogramme the PID but apart from an initial overshoot it keeps the temp fine as it is.
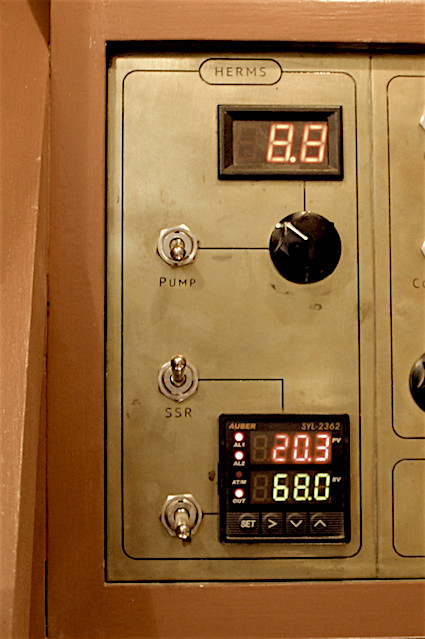 IMG_0610 by Luke Vinten, on Flickr
During the boil, the chimney comes down…
 IMG_0543 by Luke Vinten, on Flickr
... and the Phase Angle Controller takes over:
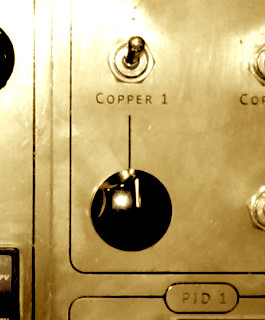 IMG_0606 by Luke Vinten, on Flickr
4.5 Amps for a nice rolling boil.
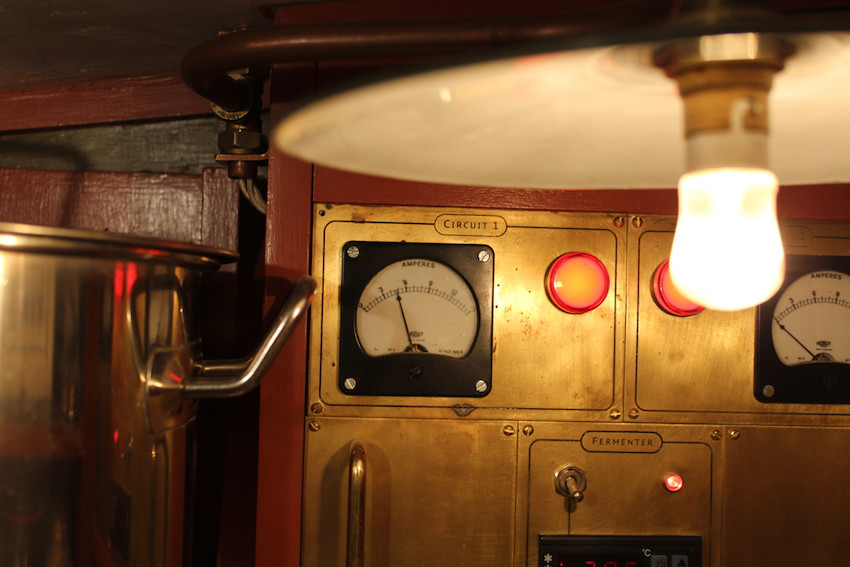 IMG_0582 by Luke Vinten, on Flickr
Mini-chiller:
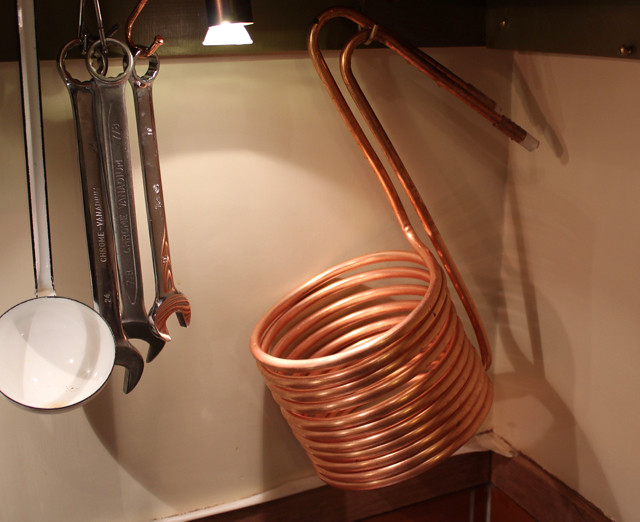 IMG_0556 by Luke Vinten, on Flickr
I made a Jamil-style whirlpool return, but I’m not sure it’ll work at this scale:
 IMG_0550 by Luke Vinten, on Flickr
Before you know it, there’s a gallon of freshly-made wort put to bed in a £1.20 fermenter:
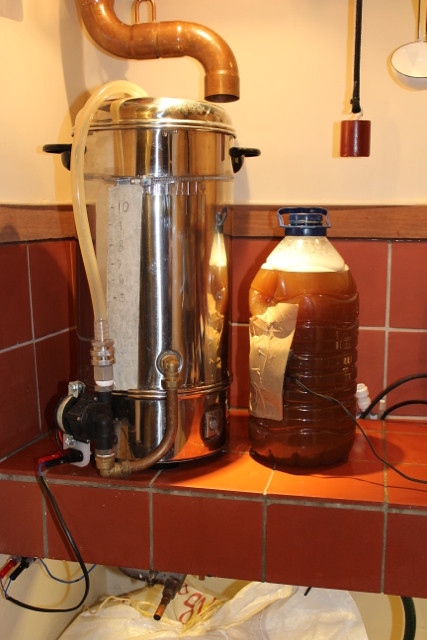 IMG_0555 by Luke Vinten, on Flickr
Verdict so far: It’s amazing how quick and easy this thing is! Even during the trial run I was twiddling my thumbs and wondering why I didn’t have more to do. The only downside so far is lousy efficiency — 54% yesterday — but I may be able to improve that. If not, it’s only a few pence of grain.
Yup, definitely pleased with my baby so far!