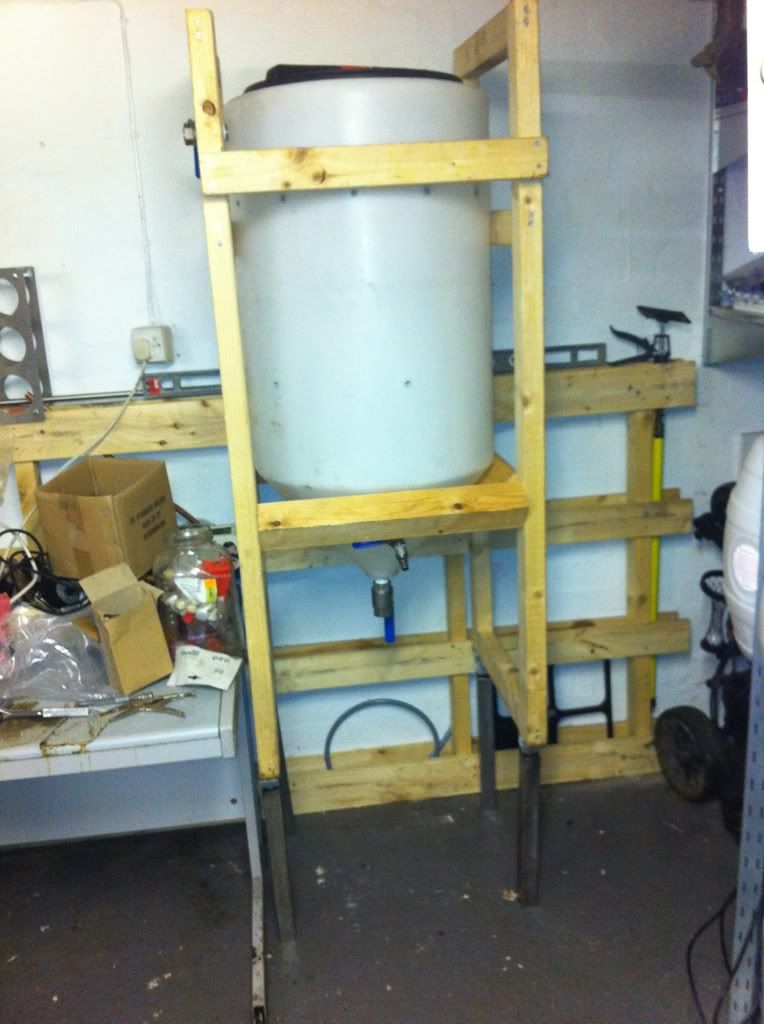
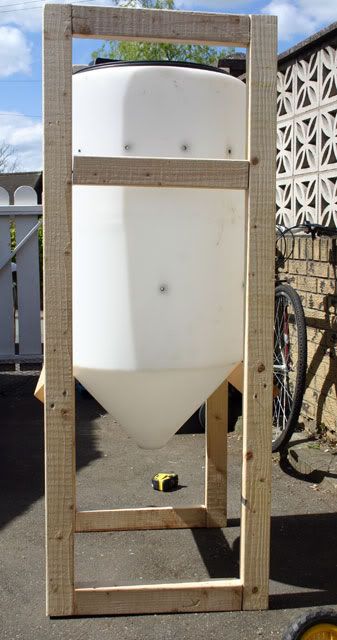
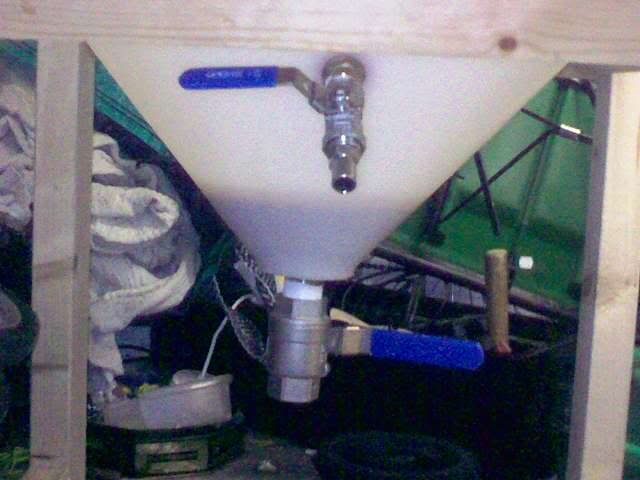
I took some more detailed pictures and described what the tank is like here but essentially it looks like this:

The first step is to sort out a racking arm. I was intending to just repeat what Aleman did on his build, but things didn't conspire. I got a 1/2" BSP parallel nipple from BES but it was much shorter than it looked in the sketches they insist on using instead of photos, and I'd also overlooked that the 1/2"BSP nuts and olives fit 15mm pipe not half inch which is what I had.

So on to Plan B. I ordered a 1/2" compression to 1/2"BSP bulkhead connector (at a slightly eye-watering £25). However whilst it would work for a bulkhead I found that sadly it won't really seal to one - the hex part is far too low profile and really needs to be a flange; any sealing washer or o-ring soft enough for a seal just squidged out over it when tightened.

So having failed to find a flange nut with the odd 1/2" compression thread, I got some 3/4" stainless washers; the need now was to seal between the minimal hex bit and the washer - not helped by the recess between threads and hex, which let the washer slop about. So I got some 'universal' flux-covered brazing rods from B&Q and braized the washer on - just about, as my hand-held blow-torch could only just about do it even with mapp gas. It worked out surprisingly well though, and I later filled any gaps on the reverse side of the washer with LS-X.

I'd got some 1/2" stainless tube (thanks again Garth!) and bent this in a pipe bender - a little un-neatly as I only have 15mm guides for it. After some testing I found the compression nut too fiddly (I can only get one arm inside the tank) and the pipe kept rotating in the fitting so I also braized the pipe in - the internal direction of the pipe now can't come out of register with the external bits, so i'll be able to mark the washer and always know where the internal pipe is. In theory the main racking arm assembly and most of the nuts can be just boiled in a saucepan or pressure cooker for sanitising.
Here is the arm with a rubber sealing washer on, and the internal washers and nuts laid out in order: a plastic washer to prevent scratching the tank wall, two stainless washers sandwiching a stainless spring washer to keep the rubber washer under compression, and a nut. The second/end nut isn't going to be used unless I find the first one rotates on the threads. If it does I'll grind off the flange of the second nut so it'll fit over the threads and use it just to butt up against the first. Possibly this is overkill, I may have been able to manage with the springiness in the rubber sealing washer rather than needing a spring washer, but my rubber washer hasn't got a lot of give in it - probably should have used a silicone one.

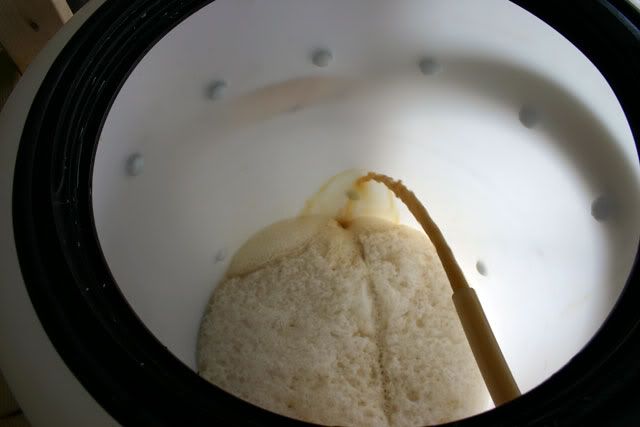
I had to fit the racking arm higher up the cone than I really wanted, as my arm isn't long enough to easily get much lower for disassembly/cleaning. So its going to be a sort of unconventional combined/rotating dip tube instead, and I'll use some silicone tube as a fine adjustment on height. Here it is inside horizontally (though I'd probably never use it rotated this high):

And here it is pointing vertically downwards. I did a test and it'll drain down to about 2L deadspace as is, but obviously I can lower the silicone dip tube as i won't need clearance to rotate it all the way horizontal.

Here is the outside 1/2"BSP thread - really should have cleaned up the washer better before photographing it! Its only external/cosmetic but there was quite a bit of flux residue that I only roughly scraped off:

So thats it so far, taps, stand and lid still to sort. will post more as I go.
Cheers
Kev


