making a boiler from copper tank
-
buzzrtbi
making a boiler from copper tank
Hmm.
Project to make a 10 gallon boiler from beer keg now on hold due to Landlord at my local letting it get picked up by mistake !
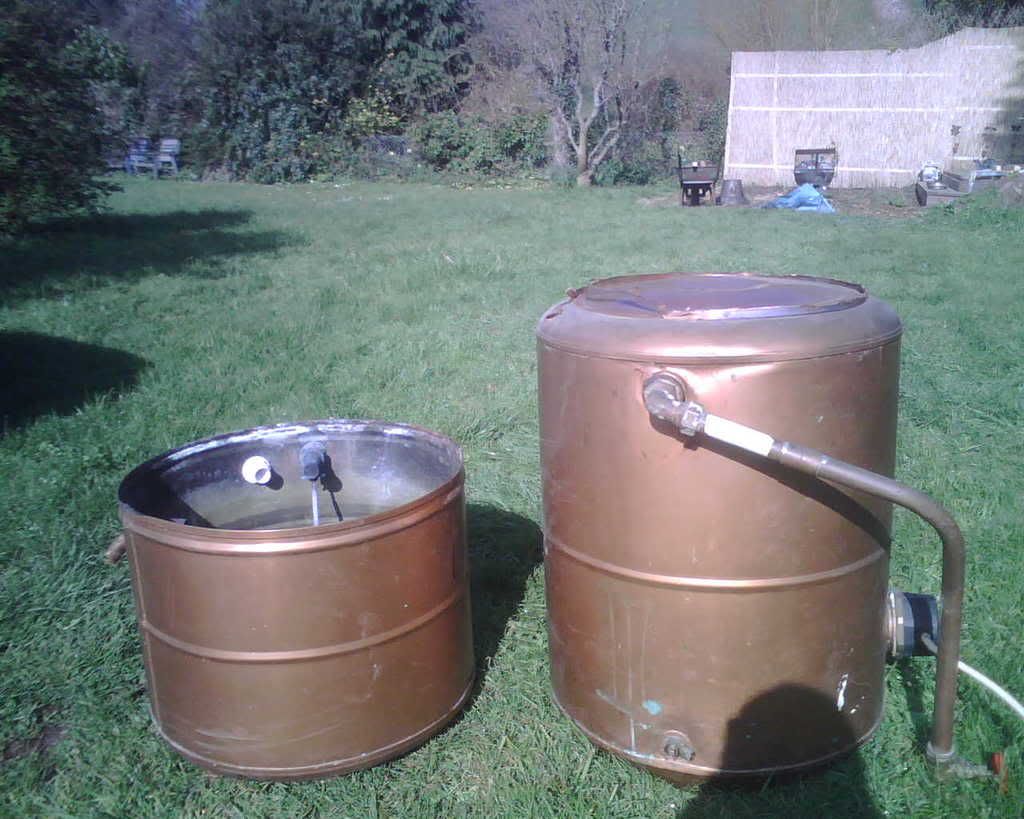
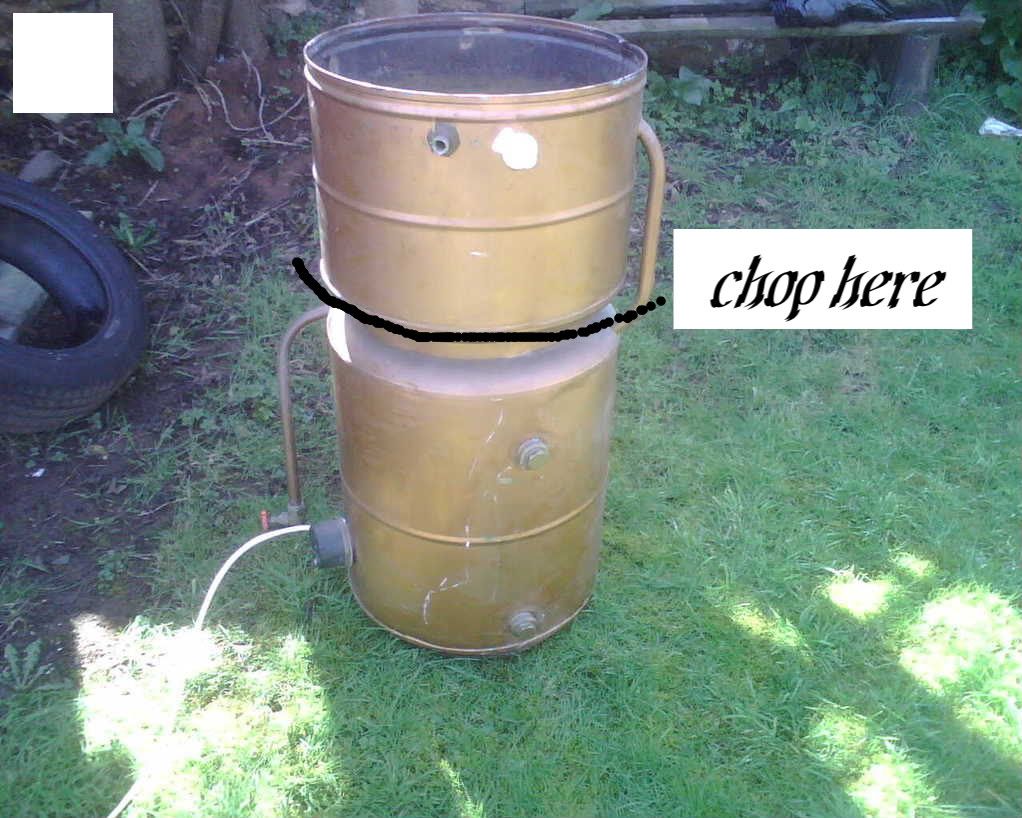
Plan B had me looking at this thing that I ripped out of a flat conversion I did recently. A double decker copper tank.
What I was thinking of doing was carefully removing the top tank (it looks like this can be done by grinding off the brazings (good spare HLT - project for another time).
This should leave me with a decent sized tank to make a boiler.
got 2 new 3kw immersion elements to install into this beauty and a shiny new ball valve
I will carefully "smack" the bottom into a concave shape to allow better pick up (it is currently convex) from the bottom and install a bottom drain together with hop strainer (thanks Aleman for the plans).
I then plan to lag the tank by placing it inside one of those blue plastic water butt container things - split it to fit and secure it with a batten then fill the void with some expanding foam to aid insulation etc.
Of course this plan B might also go to rats if it is a real mess inside !
So questions before I waste my time.
Will the tank taint the beer ?
Will it be easy enough to clean?
Will it be easy enough to seal ( I assume I could always add some strengthening brazings such as those used for fitting the immersion elements?
has anyone tried this before and how did it go?
HOW DO I ADD IMAGES?
- Andy
- Virtually comatose but still standing
- Posts: 8716
- Joined: Fri Nov 18, 2005 1:00 pm
- Location: Ash, Surrey
- Contact:
Re: making a boiler from copper tank
Not it it's cleanbuzzrtbi wrote: Will the tank taint the beer ?
buzzrtbi wrote: Will it be easy enough to clean?
Should be as long as you can access the tank insides from above.
buzzrtbi wrote: Will it be easy enough to seal ( I assume I could always add some strengthening brazings such as those used for fitting the immersion elements?
Not too sure what bit you're looking to seal.
I'd be wary of sealing the whole thing in a foam coffin though, if you need to access the immersion elements to change them etc then you don't want to have to start hacking expanded foam about.
Above the posting window is a row of buttons, the one named "Img" is used to insert images. You click the button which adds some forum code into the post, you then post in the URL of your picture (which must exist in some webspace) and then click the "Close tags" link.buzzrtbi wrote:
HOW DO I ADD IMAGES?
Or just enter [img]http://URL%20OF%20YOUR%20IMAGE[/img] manually in the post, does the same thing.
Dan!
-
stevezx7r
I have modified copper hot water tanks on a number of occasions and they make fine brewing vessels - either right way up or inverted (on a stand) depending on where you want the outlets, heaters etc. and what shaped bottom you want. If they've got a bit of scale, then use Fernox DS3 (carefully!). If the scale is bad then chuck it (or use it as a HLT, at a pinch). After several years use, they may start to leak at the weak points, but what the heck, they usually cost nothing to start with.
-
buzzrtbi
in pic 1. the top tank is sitting on a copper band brazed on to what effectively is 2 tanks. i think i will try and keep a bit of a lip on main tank. still fancy doing the foam insulation thing but will keep in mind what you say Andy and keep room around element.
any issues with a bottom drain? i cant think of any?
any issues with a bottom drain? i cant think of any?
-
Vossy1
Simply put some drain pipe around the element and cut a corresponding hole in the plastic outer container. Remove the pipe once the foam has cured and there you go...easily accessable elementsstill fancy doing the foam insulation thing but will keep in mind what you say Andy and keep room around element.
-
buzzrtbi

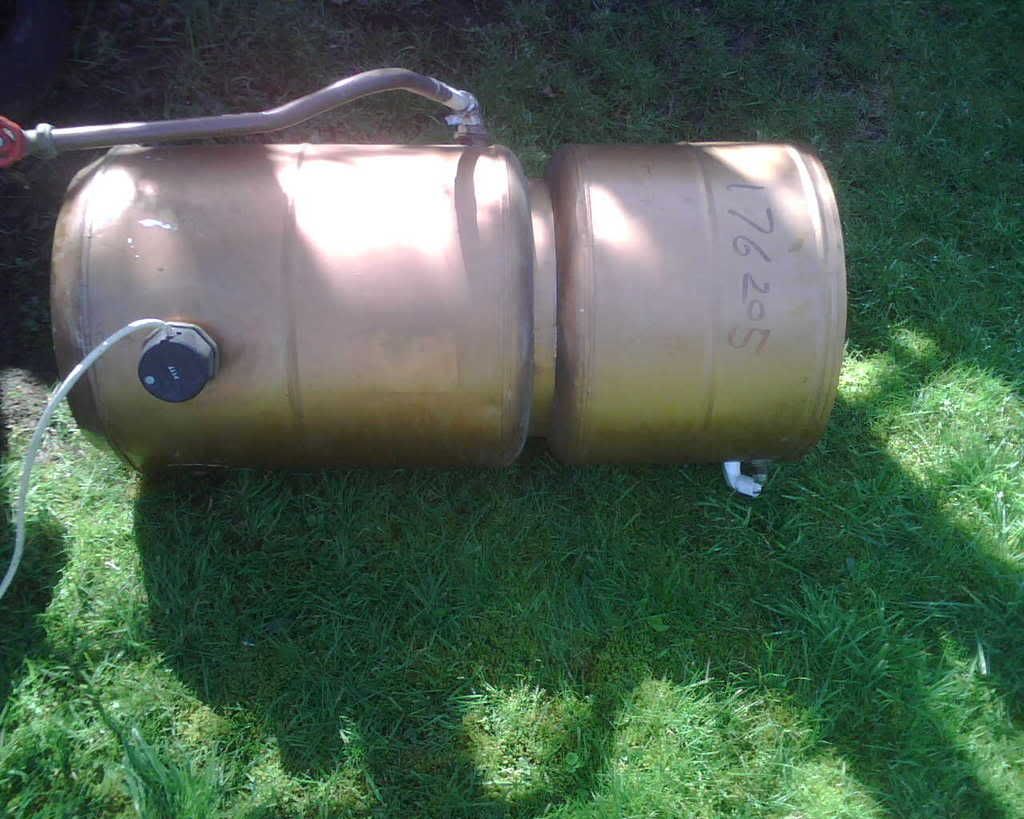
well thats the 2 tanks seperated (took your advice Vossy - it was gone 1 in the morning)
think I will cut the top leaving a nice curved lip - follow the line of the band that was on there - what do you reckon?
I have got a perfectly decent Mash Tun and HLT but if I didnt that top tank would be an ideal tun or HLT if it was lagged well enough and it has a lid !
lig a pig in poo !
- Andy
- Virtually comatose but still standing
- Posts: 8716
- Joined: Fri Nov 18, 2005 1:00 pm
- Location: Ash, Surrey
- Contact:
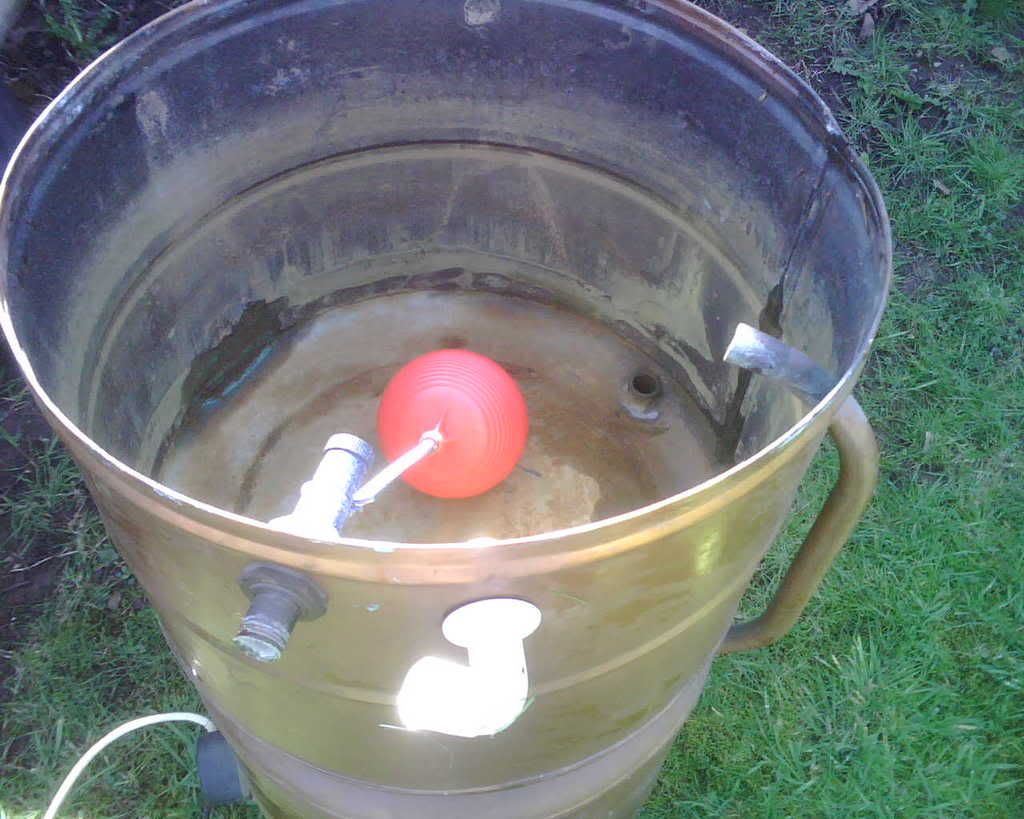
Bit of a bummer getting an element spanner on the nut thoughVossy1 wrote:Simply put some drain pipe around the element and cut a corresponding hole in the plastic outer container. Remove the pipe once the foam has cured and there you go...easily accessable elementsstill fancy doing the foam insulation thing but will keep in mind what you say Andy and keep room around element.
Looks like some kind of coating on the inside or is that just some kind of water deposit ?
Dan!
-
buzzrtbi
just some water. just applied a fine steel wool to the top tank inside and it has cleaned up like new !!Andy wrote:Bit of a bummer getting an element spanner on the nut thoughVossy1 wrote:Simply put some drain pipe around the element and cut a corresponding hole in the plastic outer container. Remove the pipe once the foam has cured and there you go...easily accessable elementsstill fancy doing the foam insulation thing but will keep in mind what you say Andy and keep room around element.
Looks like some kind of coating on the inside or is that just some kind of water deposit ?
when I come to mounting the 3kw elements (there is one already in there but I will replace it) is best to mount them as low as possible or do the convection currents not make any difference (obviously I wont be mounting them up high).
BTW I will use a fine hacksaw on my jigsaw to cut the top off - bit more easy to operate in a line than the angle grinder....
cheers for all your advice
back to the grindstone ...


