
Apology 2: lots of pictures.
After reading this I felt inspired to go slightly crazy, and anyway I like making things.
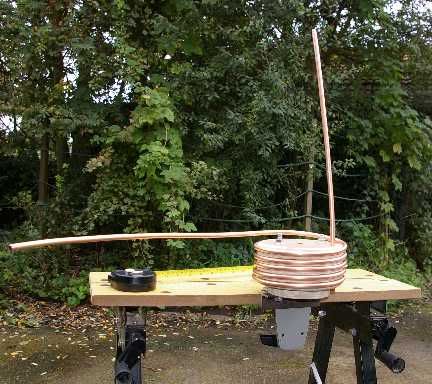
I have a normal home-made immersion chiller already, made from about 10 metres of 8mm copper, and following the discussions about twin-coil ICs I wondered if a quadruple IC would chill the wort even faster.
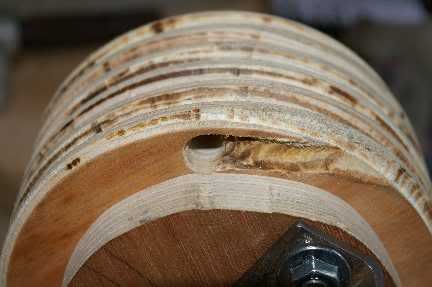
I wanted fairly even coils, so I made a former out of a stack of plywood discs about 6" in diameter (the largest size which would fit on my little lathe) and cut a V-shaped thread at 1/2" pitch using the router on the lathe (I think this is called thread milling):
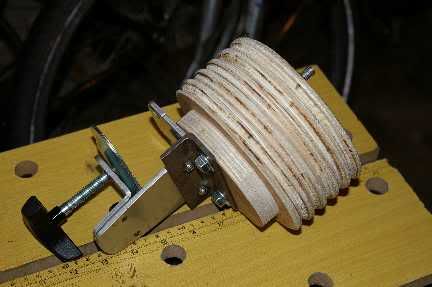
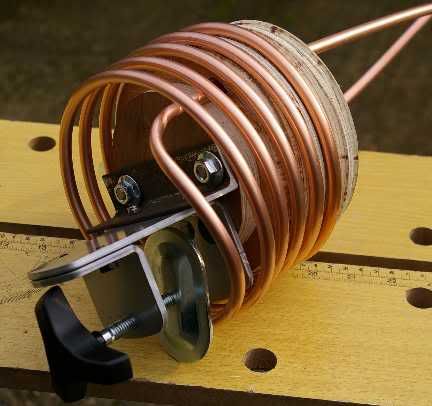
You can see the table clamp from an old Ergotron computer monitor arm, and a bit of angle-iron which is bolted through the plywood discs. The same bolts held the plywood onto the lathe faceplate.
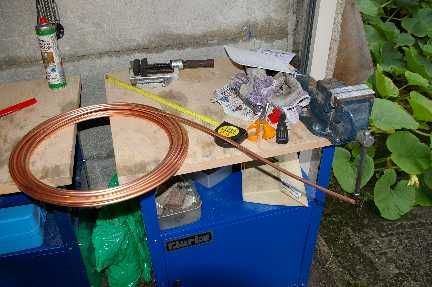
Here you can see the 8mm copper pipe measured for one of the arms which stick up:
And here it's being bent up:
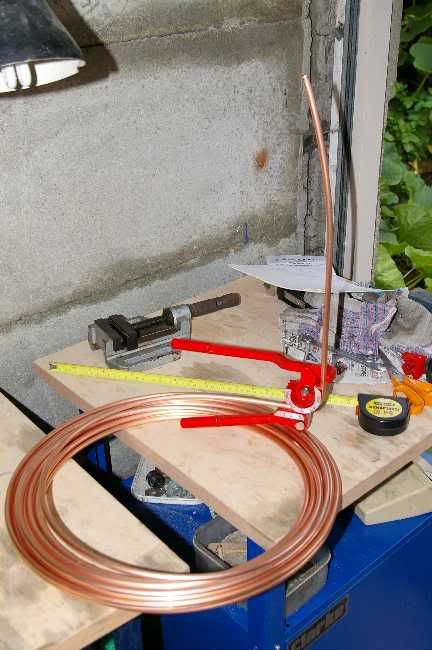
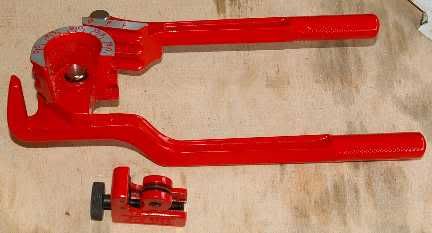
using a cheapo pipe bender (the little pipe cutter is at the bottom of the picture):
The arm passes through a hole drilled in the plywood former:
like this:
Now I started to wind the copper tube round the former (I clamped the former to the imitation Workmate bench so I could walk round it with the coil of pipe):
After a while I ran out of grooves:
so I had to guesstimate how much to cut off:
and then bend the end in a bit, then up:
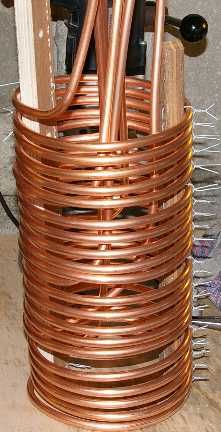
Then I had to work the coil off the former, trying not to knacker it:
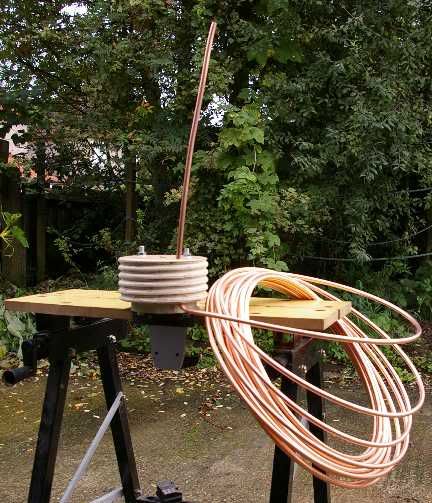
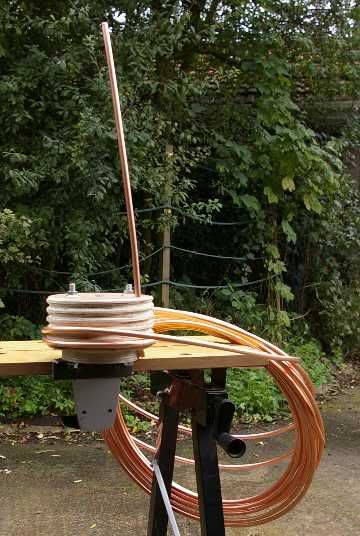
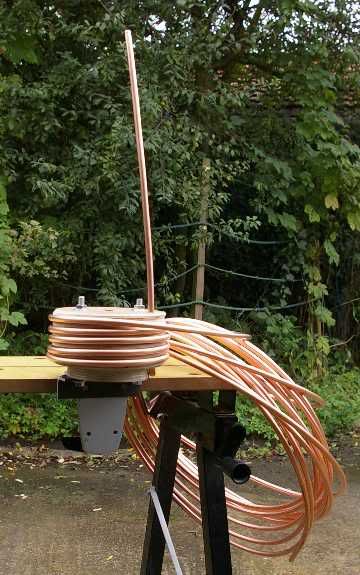
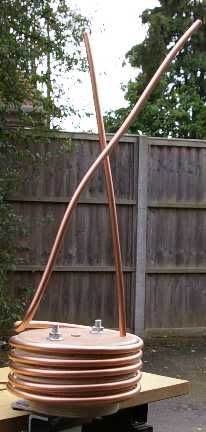
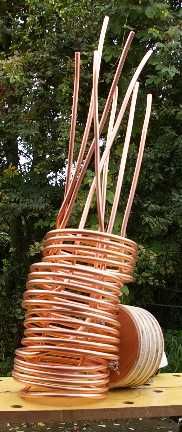
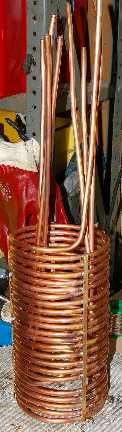
Three more to go, with progressively shorter sticking-up arms:
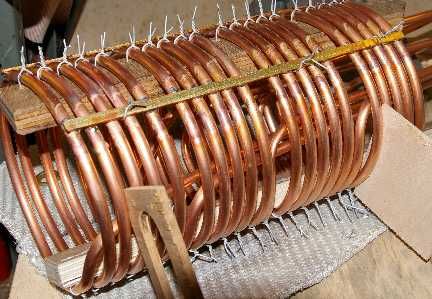
Having used my single-coil IC in its originally wobbly state (the loose coils tended to Zebedee around a bit), then stiffened it with soldered-on brass strips, I knew I wanted to do the same with the new quad IC. I drilled lots of little holes 8mm apart at 1/2" centres (sorry about the mixed non-SI units) in two lengths of scrap plywood and sewed the copper tube to the plywood with twists of galvanised garden wire:
Close-up:

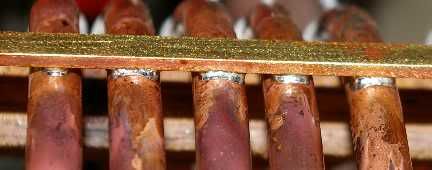
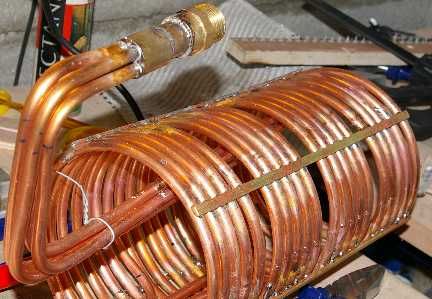
Then I soldered four brass strips to the copper coils:
You can see the bits of thin plywood I used to force the coils into the right shape.
Close-up of (lead-free) solder joints:
Then I had to cut all those twists of galvanised wire:
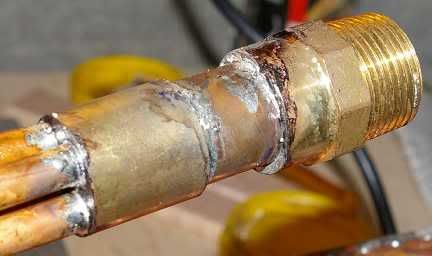
Next I bent the first set of four arms so they would meet up over the edge of the boiler, cut the bent ends to the same length and soldered-on an 8mm-to-22mm manifold, a stub of 22mm copper tube, and a 22mm-to-3/4"BSP adaptor (to fit the garden hose ends):
Close-up of fittings:
Two arms bent and soldered:
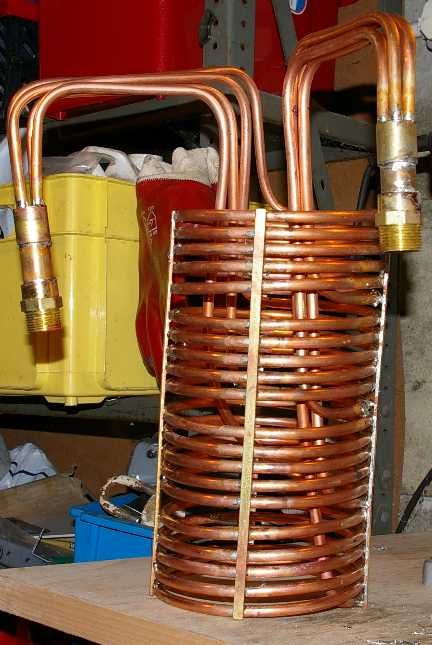
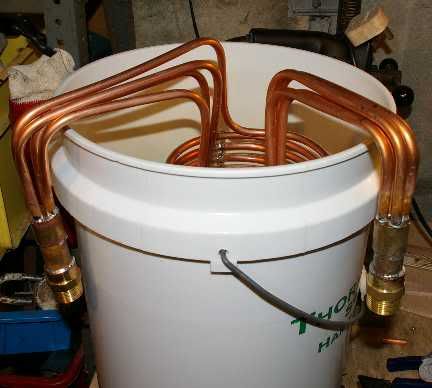
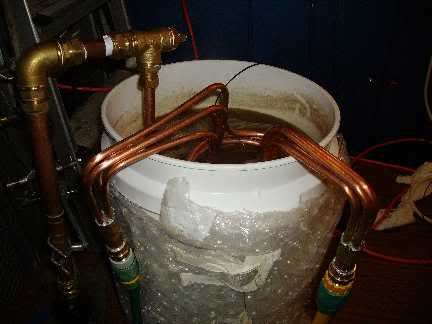
Seems to fit the boiler:
In use on Saturday 13th of September, making Hefeweizen - you can also see the U-tube as I'm recirculating the boiling wort to speed-up the cooling:
Did it cool the beer faster? Only for the first bit from boiling (the PID is reading high at 103C):
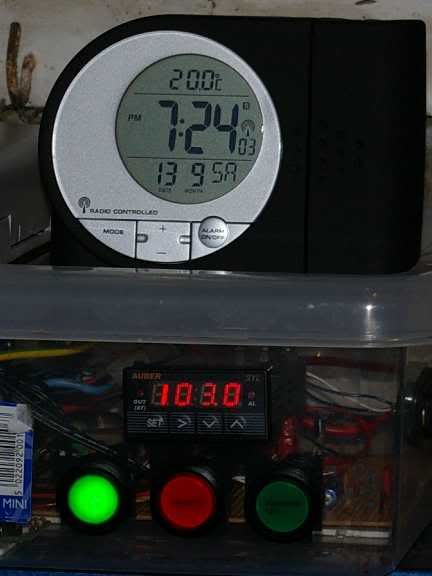
Five minutes to drop from 100C to 62C:
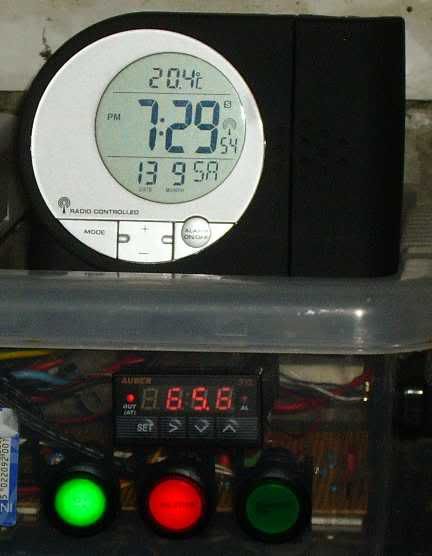
but then another fifteen minutes to get down to 24.6C when I gave up, ran it off into the brewing bucket and pitched the yeast. The tap water was about 21C when I started and 19C when I finished. I reckon it should be quicker in the winter when we should get much colder tap water.
Worth making it? Well, it was fun, but maybe a bit like overkill. I used about 12 metres of copper pipe including the sticking-up arms, and the cooling might have been better if I'd made the coils bigger, or longer, to have slightly more cold pipe in contact with the hot wort.

